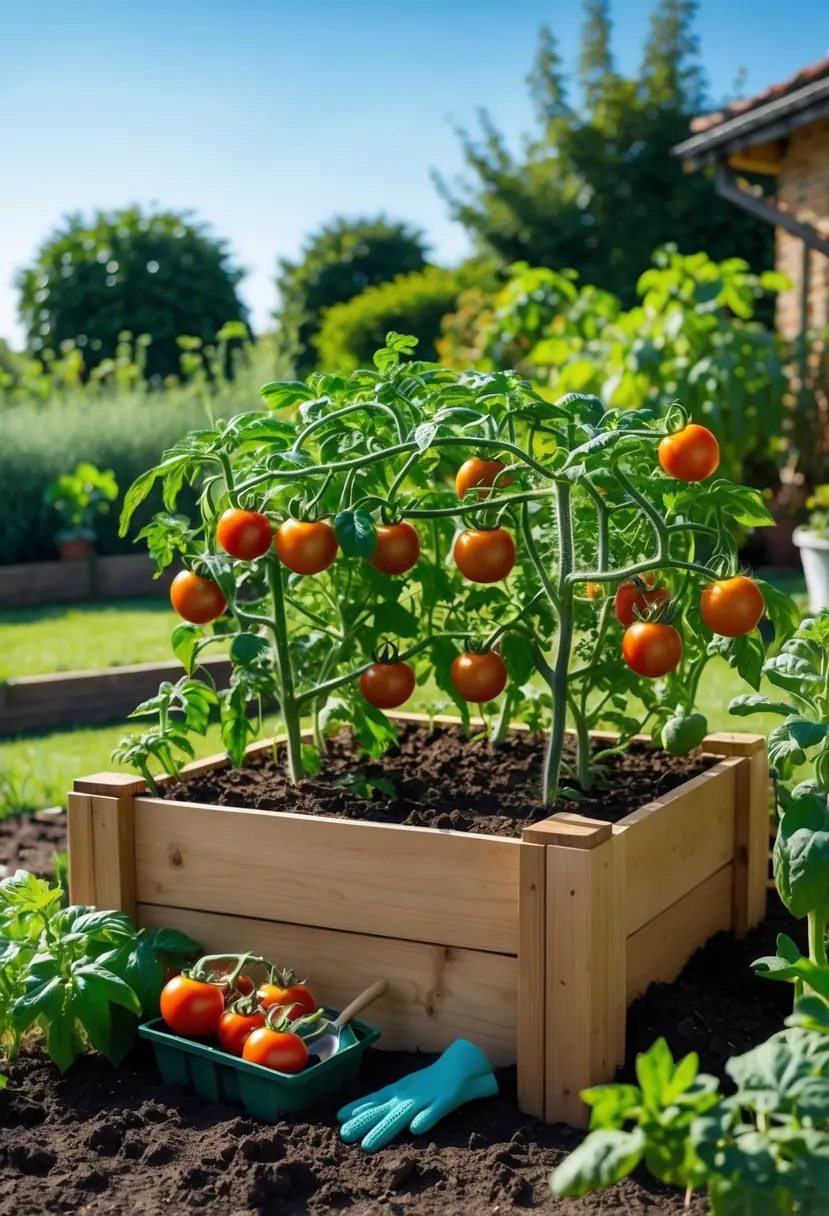
How to Grow Tomatoes in a Raised Garden Bed: Expert Steps for Healthy, High-Yield Plants
Growing tomatoes in a raised garden bed gives you control over soil, drainage, and heat so your plants can produce more fruit with less fuss. If you choose a sunny spot, build or buy a well‑draining bed, and fill it with a nutrient‑rich, loamy mix, you’ll set yourself up for stronger plants and bigger harvests.
This guide walks you through choosing the ideal bed location, preparing soil that feeds tomatoes all season, simple care routines (watering, staking, pruning, feeding), and how to harvest and extend your season for more ripe fruit. Expect practical, step‑by‑step advice you can use at planting time and throughout the growing season to get consistent results.
Contents
Selecting the Ideal Raised Bed Location
Choose a spot that gives your plants at least six hours of direct sun, drains quickly after rain, and allows 18–36 inches between beds or structures for access and airflow. Prioritize morning sun, level ground, and proximity to a water source.
Understanding Sunlight Requirements
Tomatoes need 6–8 hours of direct sunlight daily; aim for a location with full sun from mid-morning through afternoon. South- or southwest-facing sites usually provide the most consistent light in temperate climates.
If you get only 4–6 hours, pick determinate or cherry varieties that tolerate less light; if you get 8+ hours, favor heat-tolerant indeterminate types and provide afternoon shade in very hot climates.
Check sun exposure by observing the site across two mornings and two afternoons during the growing season. Note any shade from trees, buildings, or fences between 9 a.m. and 4 p.m. Use a smartphone photo at midday to verify high-sun coverage.
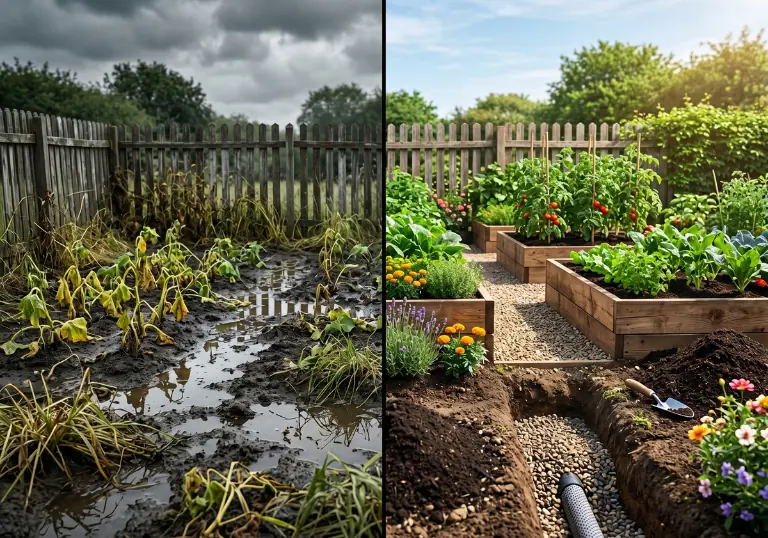
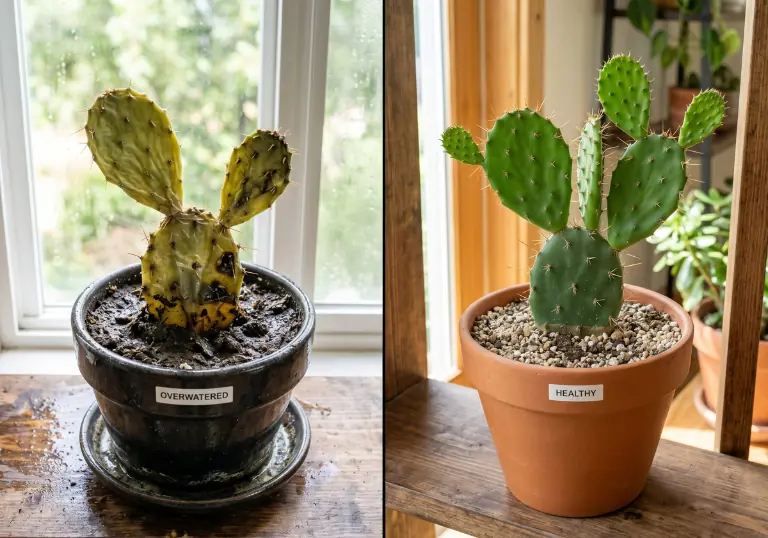
Assessing Soil Drainage
Raised beds improve drainage, but you still need good bed placement. Put beds on level or slightly sloped ground so water runs away rather than pooling at one end.
Test drainage by digging a 12-inch hole, filling it with water, and timing how long it takes to drain; aim for under 2 hours.
If drainage is slow, raise the bed height to 12–18 inches and build a coarse base of gravel or coarse sand to speed water movement. Avoid low spots where runoff accumulates, and keep a hose or soaker system within reach for consistent watering.
Spacing Considerations
Plan aisles at 18–36 inches wide so you can reach plants for pruning, harvesting, and staking. Narrow paths (18 inches) work for single-handed care; 30–36 inches let you use a wheelbarrow or kneeler comfortably.
Space plants 18–36 inches apart within the bed depending on variety: determinate types at 18–24 inches, indeterminate at 24–36 inches.
Position beds at least 3–4 feet from tall trees or shrubs to reduce root competition and shade. Lay out beds in blocks rather than long strips to maximize sunlight per plant and improve airflow between rows.
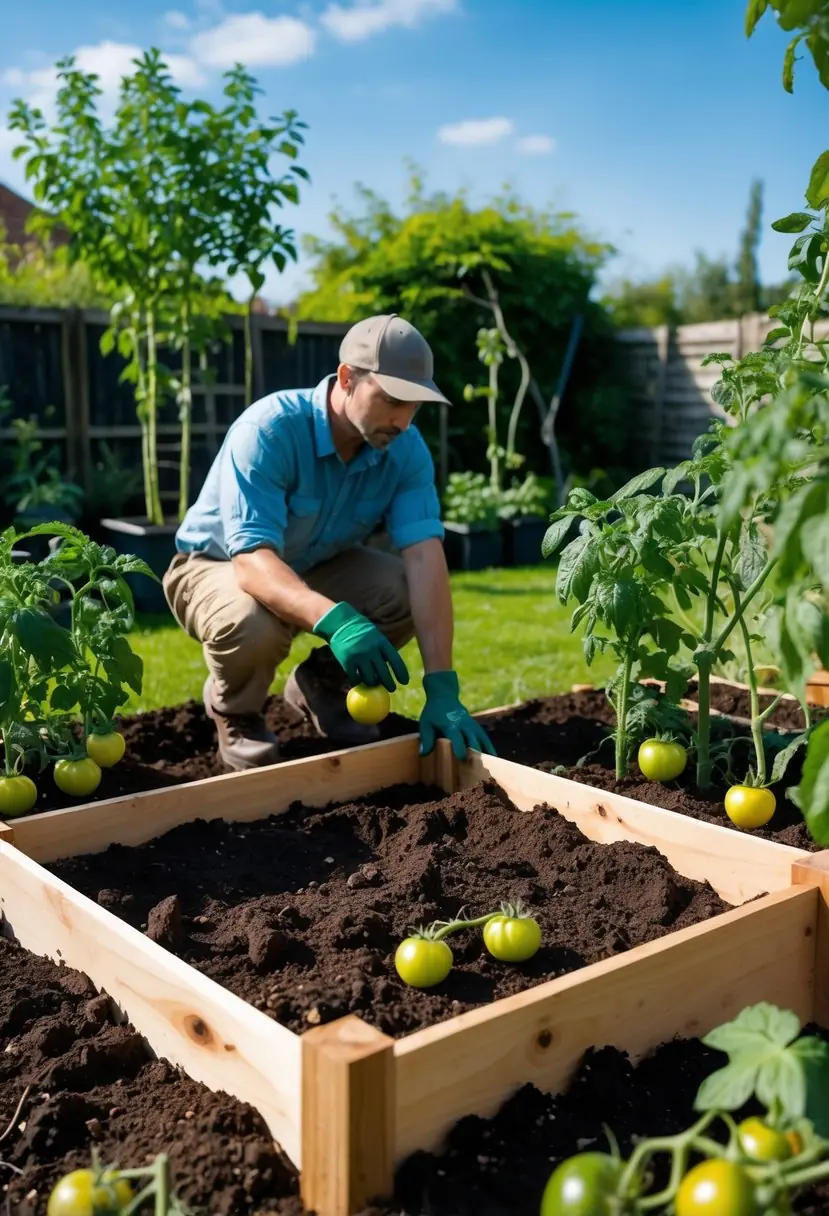
Preparing Soil for Optimal Growth

Prepare a loose, well-draining mix with steady fertility and slightly acidic pH so roots can access air, water, and nutrients. Focus on texture, organic matter, and nutrient balance to support steady growth from transplant through fruiting.
Choosing Soil Composition
Aim for a loam-based mix that drains well yet holds moisture. A good ratio to start with is: 40% topsoil or screened garden soil, 40% high-quality compost, and 20% aerating material such as coconut coir, peat moss, or coarse perlite. This gives structure, water retention, and air space for roots.
Test texture by squeezing a handful: it should hold shape but crumble easily when poked. Ensure raised beds have at least 12–18 inches of this mix for indeterminate varieties; 8–12 inches can work for smaller determinate types.
Incorporating Organic Amendments
Add 2–4 inches of well-aged compost across the bed and mix it into the top 8–12 inches of soil. Compost supplies slow-release nitrogen, beneficial microbes, and improves moisture retention without compacting the mix.
Include 1–2 cups per square foot of rock phosphate or bone meal if you need more phosphorus for early root and flower development. Fold in 1–2 cups per square yard of lime only if your soil test shows pH under 6.0. For pest and disease resilience, consider a 5–10% volume of worm castings in planting holes.
Balancing Nutrients
Start with a soil test to determine exact needs; pH 6.2–6.8 optimizes nutrient availability for tomatoes. If pH is low, apply garden lime per test recommendations; if high, use elemental sulfur sparingly.
Use a balanced fertilizer at transplant (for example, 5-10-10) applied at label rates to avoid excess nitrogen that promotes foliage over fruit. Switch to a potassium- and phosphorus-focused feed (higher middle and last numbers) once flowers form. Side-dress with compost or a granular organic fertilizer every 4–6 weeks during the growing season for steady nutrient release.
Tomato Plant Care Throughout the Season
Keep soil evenly moist, give plants firm support, monitor for pests and diseases weekly, and prune to improve airflow and direct energy to fruit. Adjust water and feeding as plants move from flowering to heavy fruit set.
Watering Techniques
Water deeply at the root zone rather than wetting foliage to reduce disease risk. Aim for 1–2 inches of water per week total (rain plus irrigation); use a rain gauge or soil probe to check.
Morning irrigation is best so leaves dry quickly if they get wet. Use soaker hoses or a drip system to deliver steady moisture and reduce evaporation.
Mulch 2–3 inches of straw, shredded bark, or leaf mulch to stabilize soil moisture and temperature. Check the top 2 inches of soil: if it’s dry, water; if it’s still moist, wait.
When fruit begins to swell, maintain consistent moisture to prevent cracking and blossom end rot. Add calcium at first sign of blossom end rot and avoid large swings in wet/dry cycles.
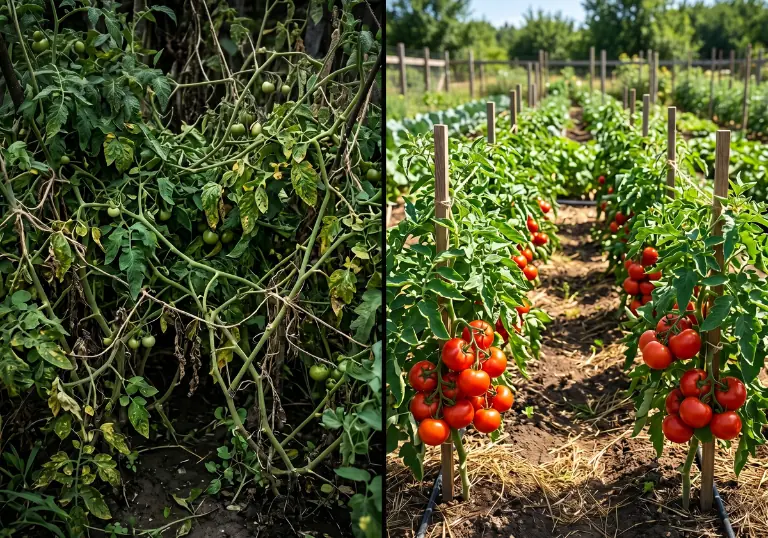
Supporting Tomato Plants
Choose support based on variety: indeterminate types need tall cages or stakes; determinate types do well with low cages or short stakes. Install supports at planting time to avoid root disturbance later.
Use 6–8 foot stakes, heavy-duty cages, or string-and-wire trellises for indeterminate vines. Space supports 18–30 inches apart depending on cultivar and vigor.
Tie stems gently with soft plant ties, cloth strips, or twine; retie every few weeks as the plant grows. For heavy fruit loads, add horizontal cross-bracing or supplemental stakes to prevent collapse.
Remove lower leaves that touch soil and secure suckers to maintain a cleaner, stronger canopy that’s easier to support and harvest.
Managing Pests and Diseases
Inspect plants every 3–7 days for symptoms: yellow mottling, holes, wilting, or sticky residue. Early detection lets you act before infestations spread.
Use physical controls first: handpick hornworms, set yellow sticky traps for whiteflies, and use row covers for early-season protection.
Apply organic sprays (Bacillus thuringiensis for caterpillars, neem oil for aphids and some fungal issues) only when needed and follow label rates. Rotate chemical classes if you use synthetic products to reduce resistance.
Practice sanitation: remove diseased foliage, avoid overhead watering, rotate crops yearly, and compost only healthy plant material. Consider resistant varieties if late blight or early blight is a local problem.
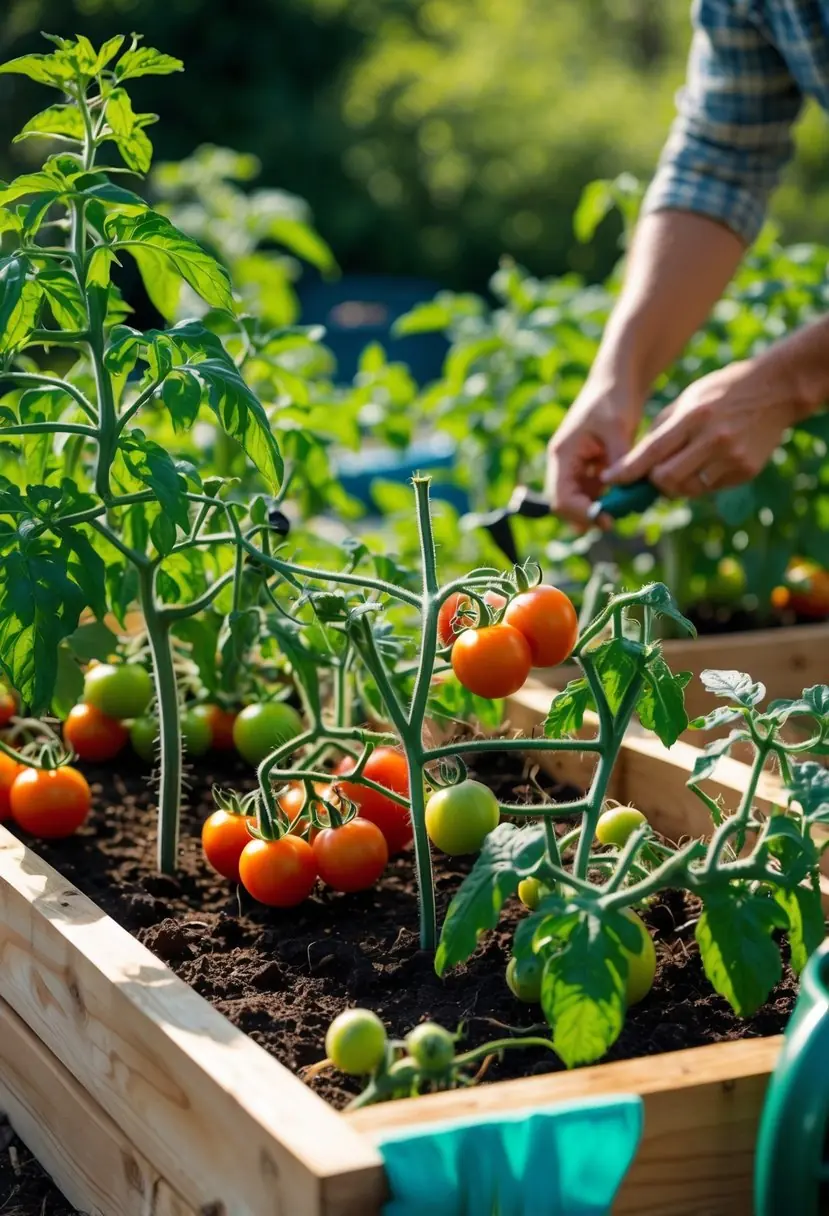
Pruning and Training
Prune suckers on indeterminate plants to one or two main stems to focus energy into fruit and improve airflow. Remove only the small shoots in the leaf axils; leave larger stems intact.
Pinch off the lowest 6–8 inches of foliage once plants reach 12–18 inches to reduce soil splash and disease risk. Disinfect pruning tools between plants with a 10% bleach solution or alcohol.
For determinate varieties, limit pruning to removing dead or diseased leaves; heavy pruning can reduce yield. Train stems onto supports by wrapping or tying every 12–18 inches to prevent wind damage and keep fruit off the ground.
Harvesting and Extending the Growing Season
You will learn how to pick tomatoes at peak flavor, which cutting and handling methods preserve fruit and plant health, and practical ways to push harvests earlier or later in the year.
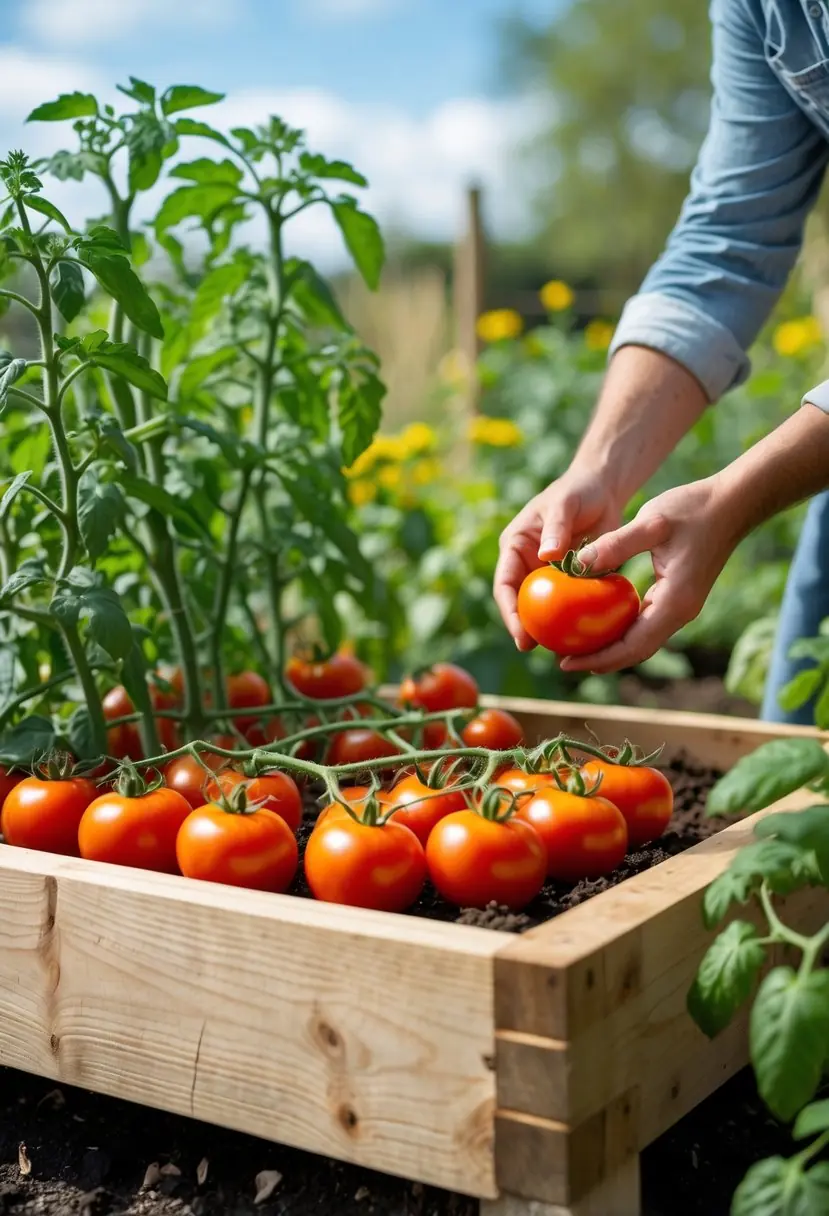
Identifying Ripeness
Check color first: firm green fruit with a blush near the stem is not ripe, while even color from stem to blossom end (red, orange, pink, or yellow depending on variety) indicates maturity. Feel for slight softness when you press the blossom end; ripe tomatoes yield gently but are not mushy.
Smell the stem area—ripe tomatoes give a sweet, tomato-like aroma. For indeterminate vines, inspect clusters and pick the ripest fruits to encourage more production. Use a simple chart in your garden notebook: variety → typical ripe color → days to maturity from transplant.
For green-when-ripe varieties, rely on feel and subtle color changes rather than full color. Always avoid picking cracked, rotten, or pest-damaged fruit; remove those promptly to reduce disease pressure.
Harvesting Methods
Harvest in the morning when temperatures are cooler to reduce bruising and post-harvest softening. Use clean, sharp pruners or scissors to cut fruit with a short stem segment attached—this limits stem scarring and reduces infections.
For very ripe or loose-skinned varieties, cradle the fruit with one hand and cut with the other to avoid dropping. Place tomatoes in a shallow box or single layer basket; do not stack them, which causes bruising and accelerates decay.
Label harvested fruit by date and variety if you grow multiple types. For overripe produce, consider refrigeration only for very ripe fruit you cannot use immediately; otherwise store at 55–68°F for best flavor retention.
Season Extension Strategies
Start earlier by using clear plastic cloches, low tunnels, or row cover to raise soil and air temperatures by 5–10°F. Set covers over frames and vent on warm days to prevent overheating and fungal issues.
Delay frost damage with frost cloths or removable cold frames; keep covers down at night when lows approach 32–35°F. Mulch beds with straw or black plastic to retain soil warmth and reduce evaporation; replace or lift plastic in midsummer to prevent overheating.
For unpredictable late-season warmth, move determinate or container plants under temporary hoops or into a greenhouse to gain 2–4 extra weeks of production. Prune lightly and pinch out new floral trusses after mid-September in cool climates to concentrate ripening on existing fruit.