15 Pool Float Storage Ideas That Actually Work
You want pool time without the pileup of deflated unicorns and tangled tubes, and this article shows practical ways to keep floats neat, protected, and easy to grab. You’ll find simple, space-smart storage ideas that fit patios, sheds, and tight corners so your pool area stays tidy and ready for summer.
Expect a mix of DIY fixes and ready-to-buy options that balance style and function, from vertical racks and hidden chests to portable mesh bins and built-in benches. Use these ideas to match your space, protect your floats, and make retrieving gear quick and hassle-free.
Contents
- 1 1) Vertical Wall Rack for Space-Saving Storage
- 2 2) Hidden Storage Chest for a Clutter-Free Look
- 3 3) Multi-Level Rack with a Statement Swan Float
- 4 4) Minimalist Wall Rack for a Sleek Look
- 5 5) Rustic Wooden Crate for a Charming Touch
- 6 6) Built-In Bench Storage for a Modern Backyard
- 7 7) Wicker Trunk for Elegant Pool Float Storage
- 8 8) Rolling Wire Rack for Easy Access
- 9 9) A-Frame Rack for Maximum Storage
- 10 10) Enclosed Storage Shed for a Clean Look
- 11 11) Rolling Mesh Cart for Portable Storage
- 12 12) Multi-Purpose Poolside Shelf for Towels and Floats
- 13 13) Coastal-Inspired Fence Storage for Pool and Surf Essentials
- 14 14) Hanging Net for Space-Saving Float Storage
- 15 15) Portable Mesh Bin for All-In-One Storage
- 16 Choosing the Right Storage Solutions
- 17 Maintaining the Longevity of Pool Floats
- 18 FAQ’s
1) Vertical Wall Rack for Space-Saving Storage

A vertical wall rack lets you store pool floats off the ground and use unused vertical space along fences, garage walls, or a pool house. You can mount simple hooks or a dedicated rack to keep inflatables visible and easy to grab.
Choose weather-resistant materials like coated metal or treated wood to avoid rust and rot. Install at a height that keeps larger floats accessible without bending or stretching.
This setup reduces clutter and speeds cleanup after use. It also helps floats dry faster by improving airflow and preventing mildew.
2) Hidden Storage Chest for a Clutter-Free Look
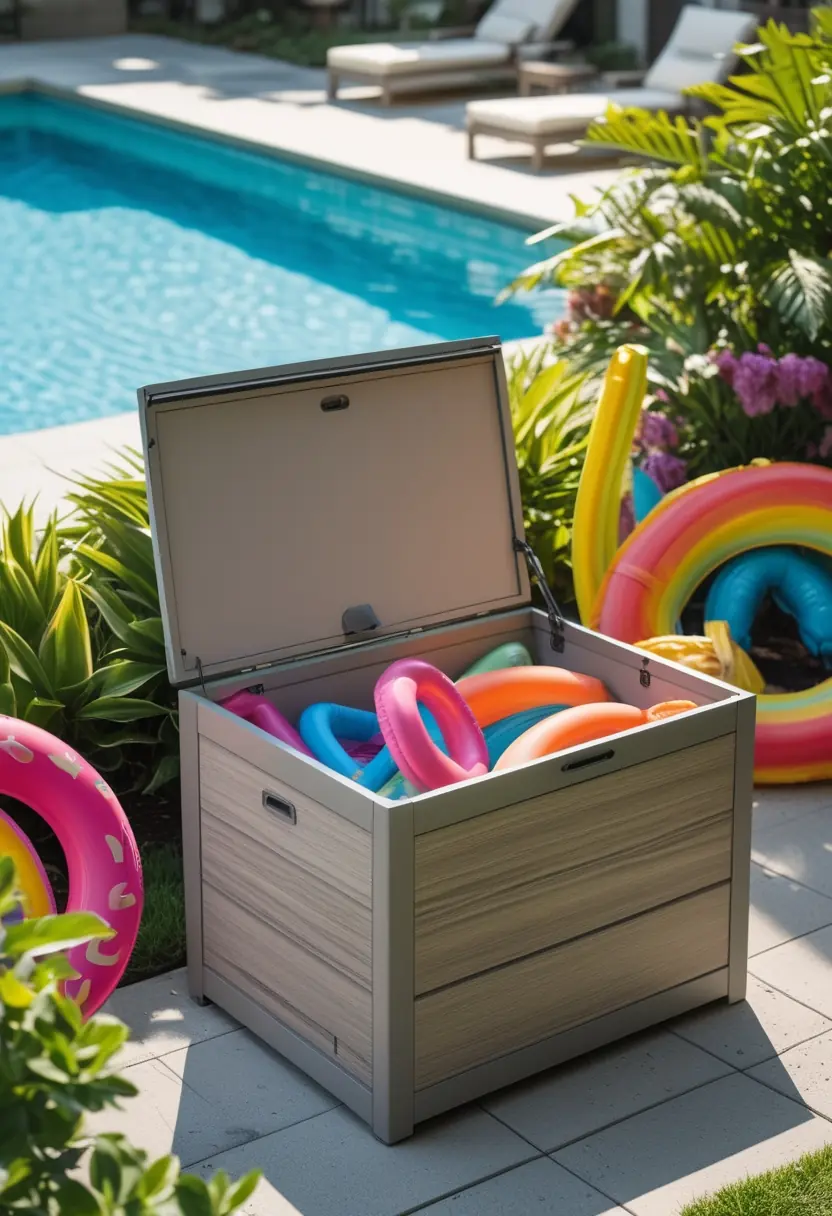
Choose a weatherproof chest that doubles as seating to keep floats out of sight and your patio tidy. Place it near the pool for quick access, and pick a neutral finish to blend with your outdoor decor.
Use a chest with ventilation and drainage to prevent mildew and trapped moisture. Line the bottom with a breathable mat or mesh to improve airflow and prolong the life of your floats.
If space is tight, select a slim or corner chest to maximize circulation areas. Label the chest or assign types of floats to zones so you and guests can find items fast.
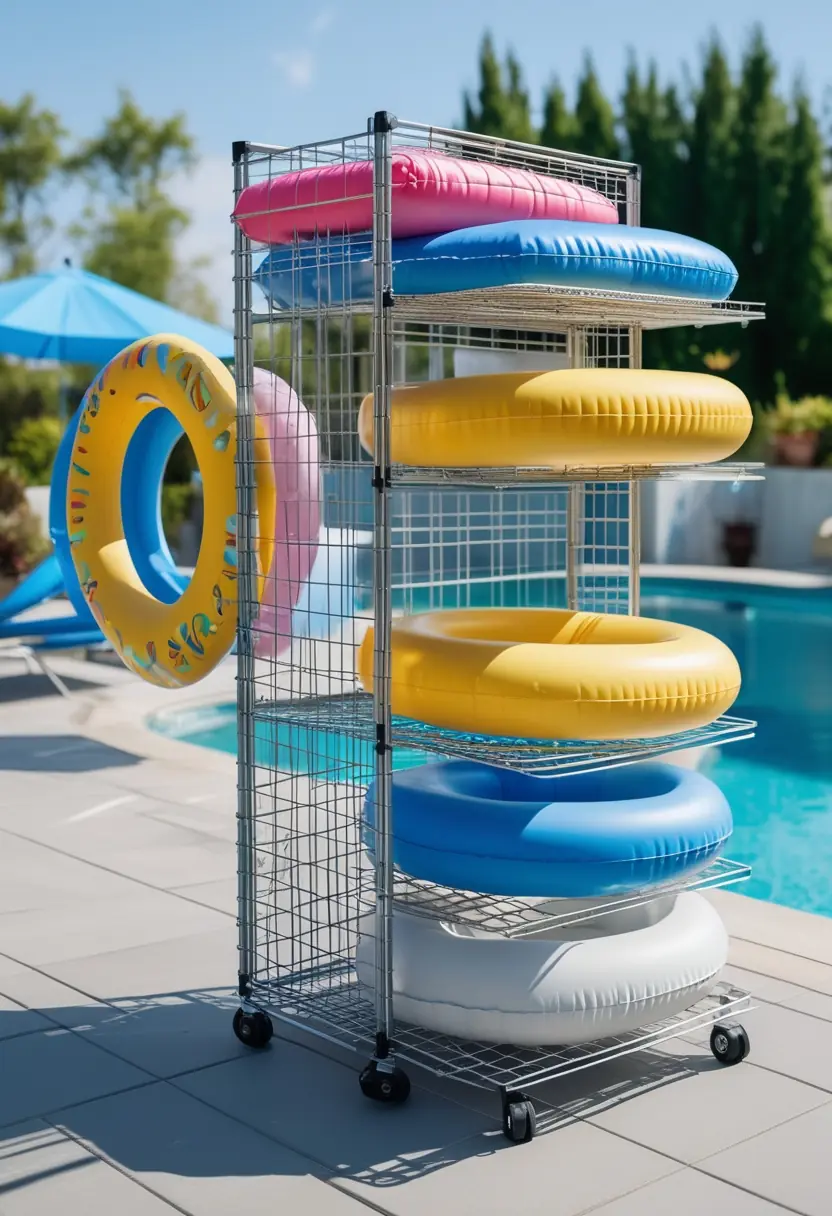
3) Multi-Level Rack with a Statement Swan Float
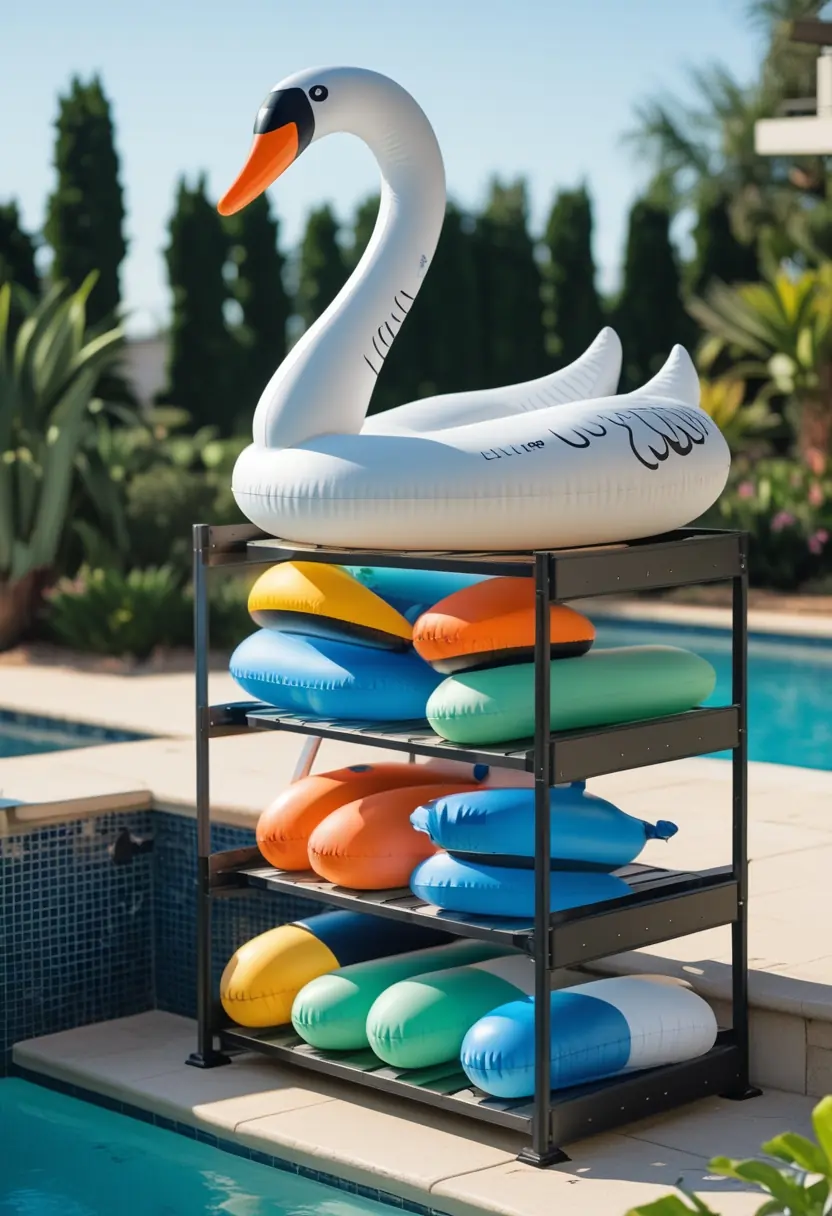
Place a multi-level rack near your pool to separate large inflatables from smaller toys. You’ll keep bulky items like a swan float up top so they don’t crush or tangle with noodles below.
Choose a rack with open shelves or mesh bins for airflow and quick drying. Metal or treated wood works outdoors; ensure rust-resistant hardware if it faces splashing.
Position the statement swan on the top tier for an attractive focal point that’s also easy to grab. This setup maintains order and makes cleanup faster after every swim.
4) Minimalist Wall Rack for a Sleek Look
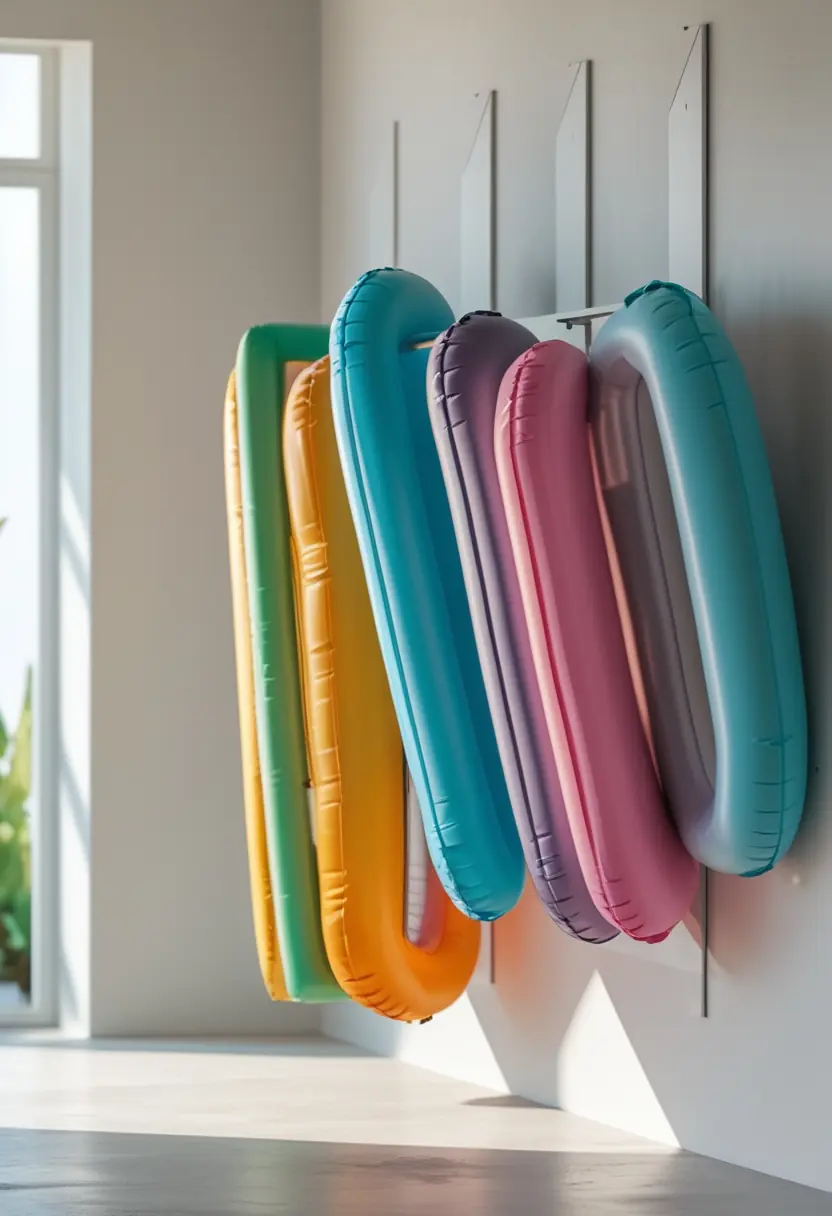
A minimalist wall rack uses clean lines and simple materials to keep your floats off the ground and out of sight. You save floor space and create a tidy visual without bulky hardware.
Choose narrow metal or wooden slats with evenly spaced hooks or PVC sleeves to support inflatables without deforming them. Mount the rack at a comfortable height so you can grab floats quickly and return them easily after use.
Finish with neutral paint or a natural stain to blend the rack into your fence, garage wall, or poolhouse. The result feels intentional and uncluttered, fitting modern outdoor aesthetics.
5) Rustic Wooden Crate for a Charming Touch
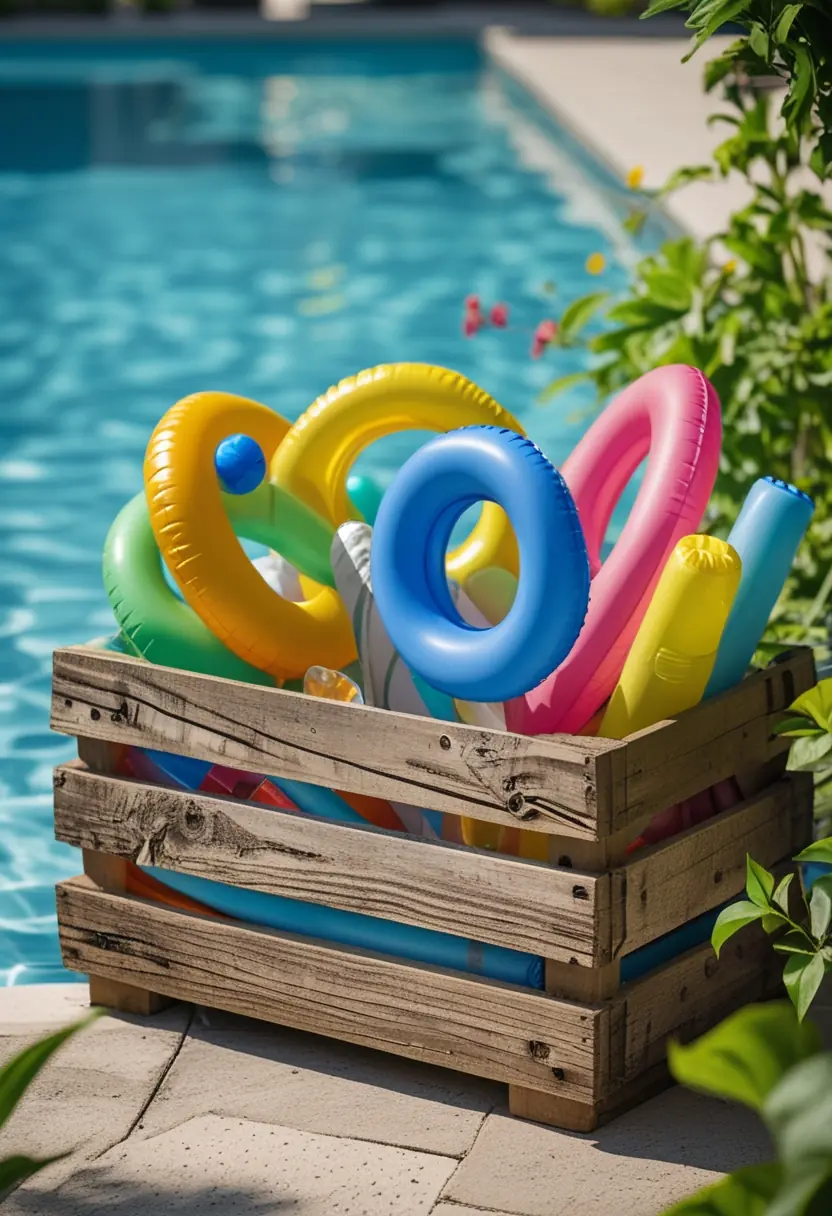
A rustic wooden crate gives your pool area a tidy, lived-in look while keeping floats contained. You can stack crates or place a single large one near the gate for easy access.
Choose weather-treated wood or bring crates under a covered area to extend their life. Add handles or foam padding to protect delicate float surfaces and make lifting simpler.
Crates double as decor and storage, fitting farmhouse or casual styles without looking out of place. They work well for oversized floats that won’t fit in bins or nets.
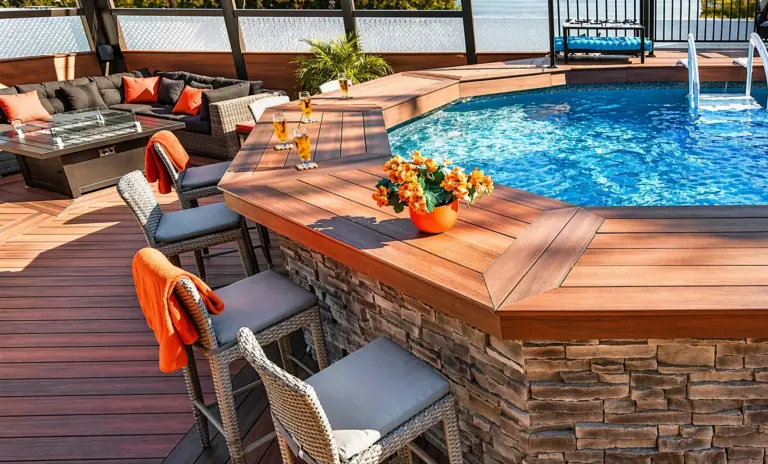
6) Built-In Bench Storage for a Modern Backyard
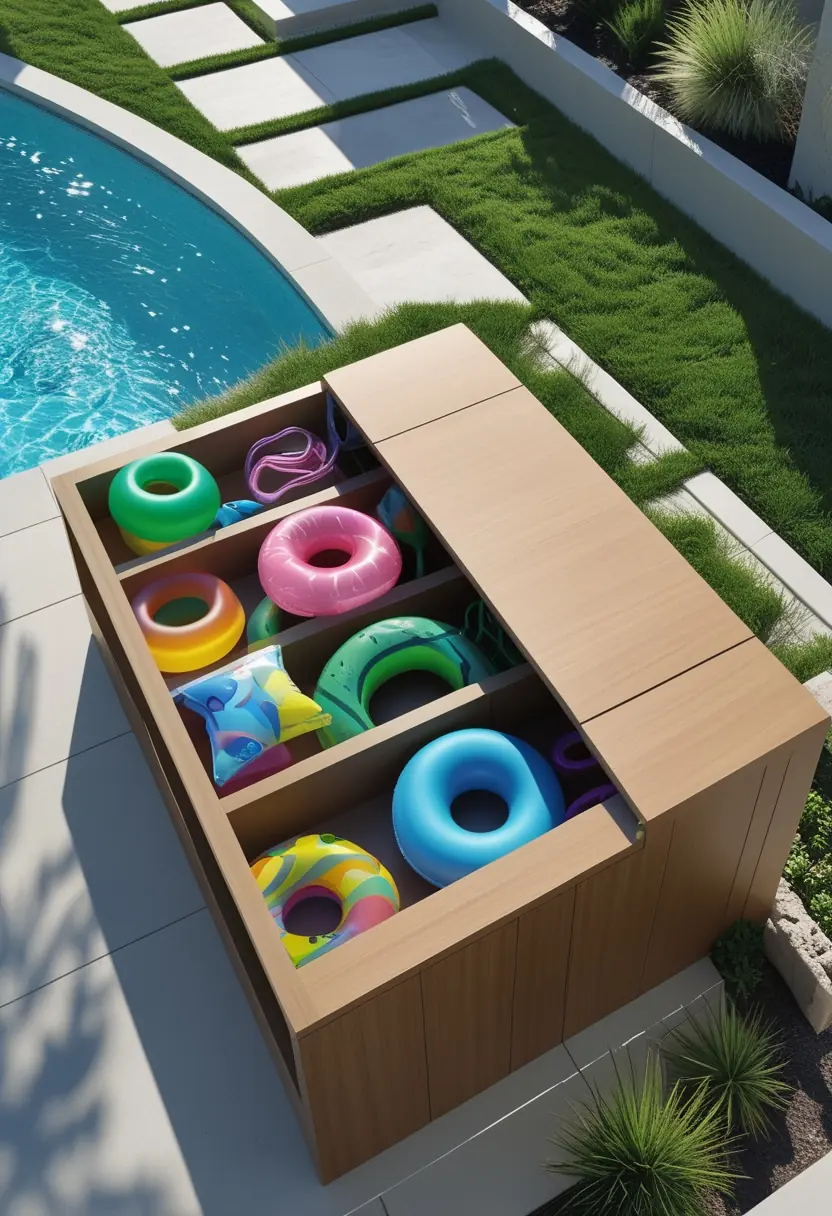
Install a built-in bench along your pool deck to combine seating and storage without wasting space. You gain hidden compartments that keep floats, towels, and small toys tidy and out of sight.
Choose hinged tops or sliding drawers for easy access; waterproof materials and marine-grade hardware will resist moisture and sun. You can match the bench finish to your patio for a seamless, modern look that improves both function and curb appeal.
7) Wicker Trunk for Elegant Pool Float Storage
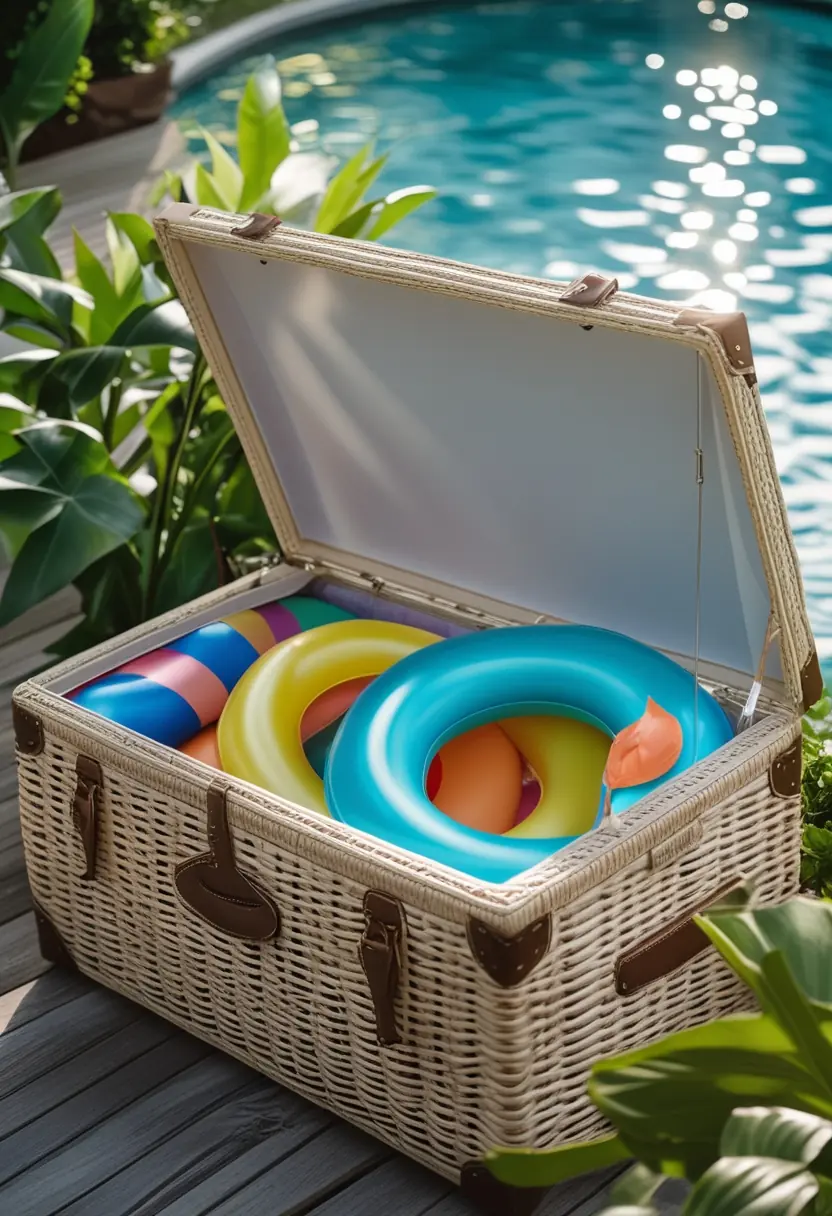
A wicker trunk offers a stylish, weather-resistant option for storing floats and pool toys. You can tuck bulky noodles and deflated floats inside to keep the deck tidy and shaded.
Choose trunks made from PE rattan with a rust-proof frame for outdoor durability. Look for models with wheels or lightweight construction so you can move the trunk as needed.
A trunk also doubles as extra seating or a side table when closed. Keep a small liner or drainage holes to prevent trapped moisture and prolong the trunk’s lifespan.
8) Rolling Wire Rack for Easy Access
A rolling wire rack gives you mobile, ventilated storage that prevents mildew and keeps floats visible. You can move it poolside, tuck it in a shed, or roll it under a covered patio in seconds.
Choose a rack with wide shelves and sturdy casters to support large inflatables without tipping. Mesh or wire shelves let water drip away and speed drying, reducing odor and damage.
Label shelves or use removable bins to separate kids’ toys from adult floats. This makes cleanup faster and helps everyone find their favorite float quickly.
9) A-Frame Rack for Maximum Storage
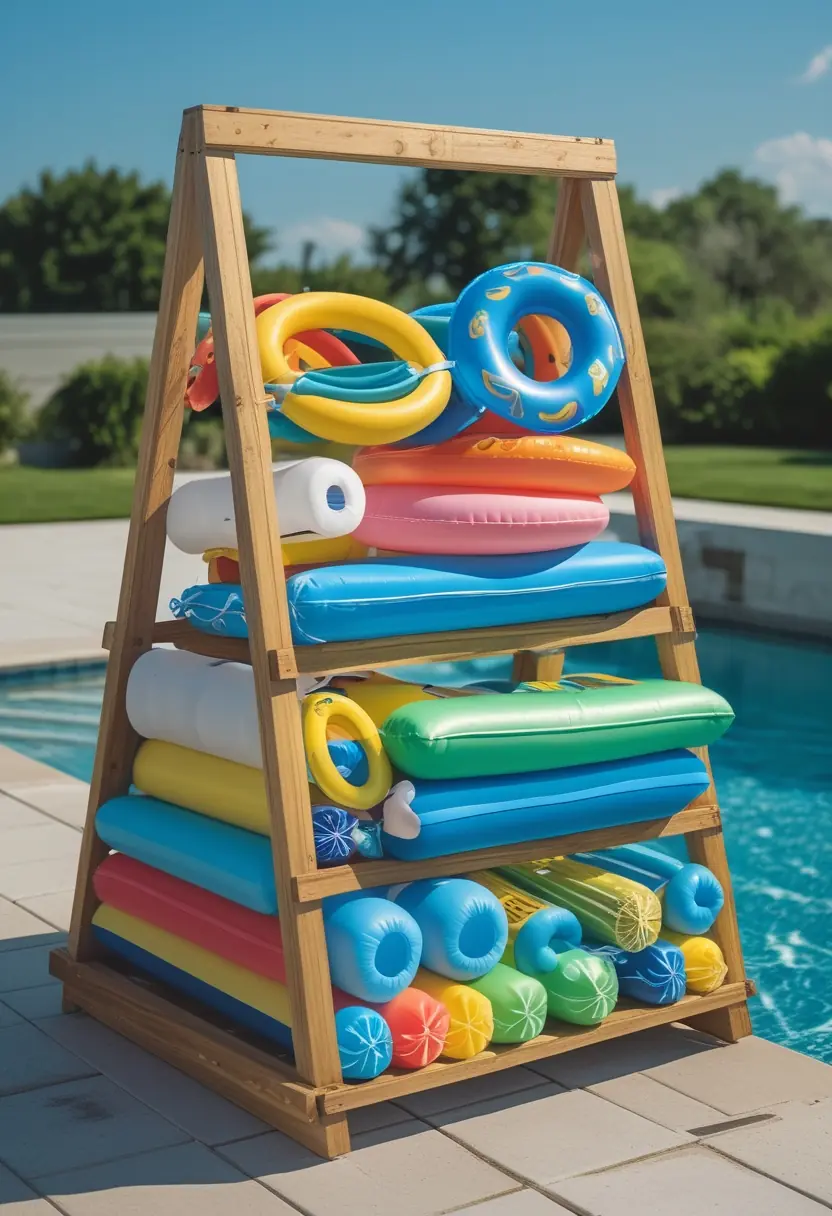
An A-frame rack holds multiple inflated floats vertically, saving floor space and keeping items visible. You can load several large rings or loungers without stacking them on top of each other.
Build or buy a weather-resistant A-frame from cedar or powder-coated steel for outdoor use. Position it near your pool for easy access and to encourage tidy return habits.
10) Enclosed Storage Shed for a Clean Look
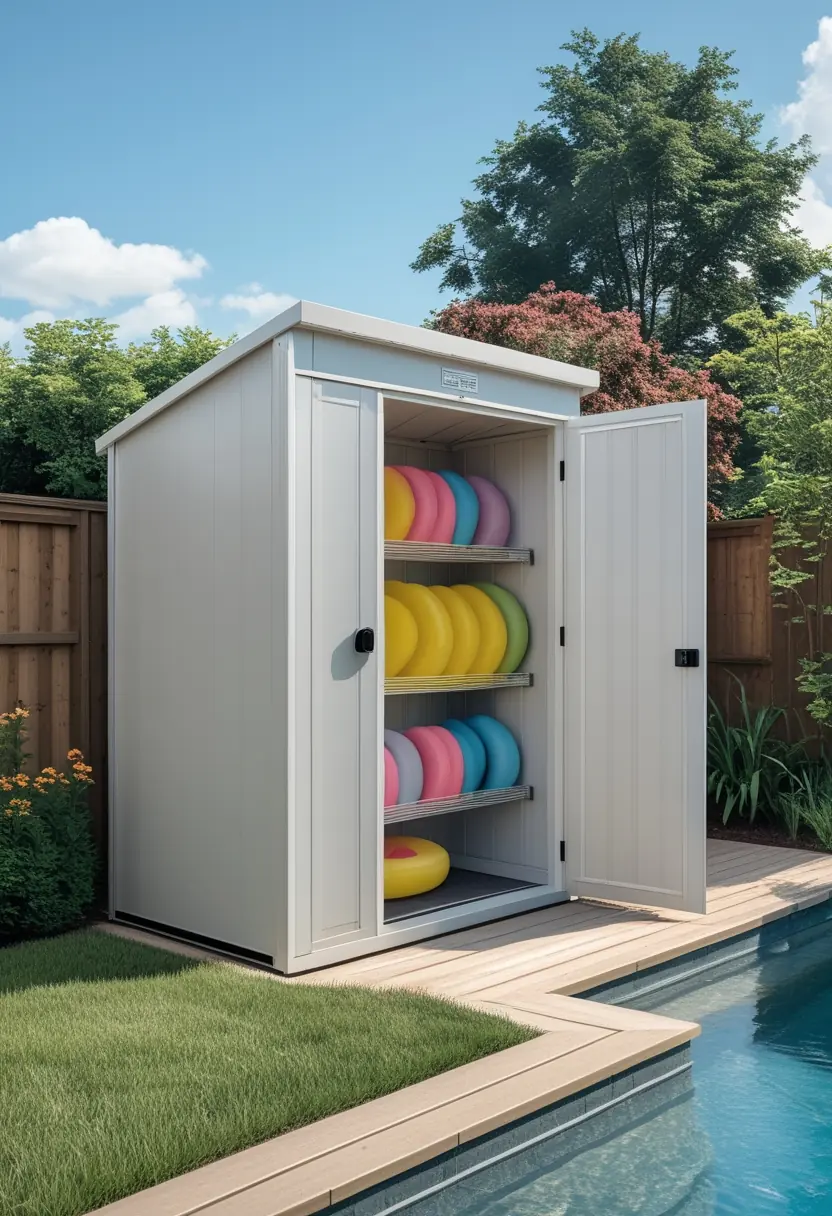
An enclosed storage shed keeps floats, chemicals, and pool tools out of sight, giving your yard a tidy, streamlined appearance. You control humidity and sunlight exposure, which helps protect foam and vinyl from premature wear.
Choose a weather-resistant material and add shelving or hooks to maximize space. Lockable doors improve safety and keep children and pets away from hazards.
Place the shed on a level, well-drained spot close to the pool for convenience. Consider ventilation and a removable floor mat for easy cleaning and dry storage.
11) Rolling Mesh Cart for Portable Storage
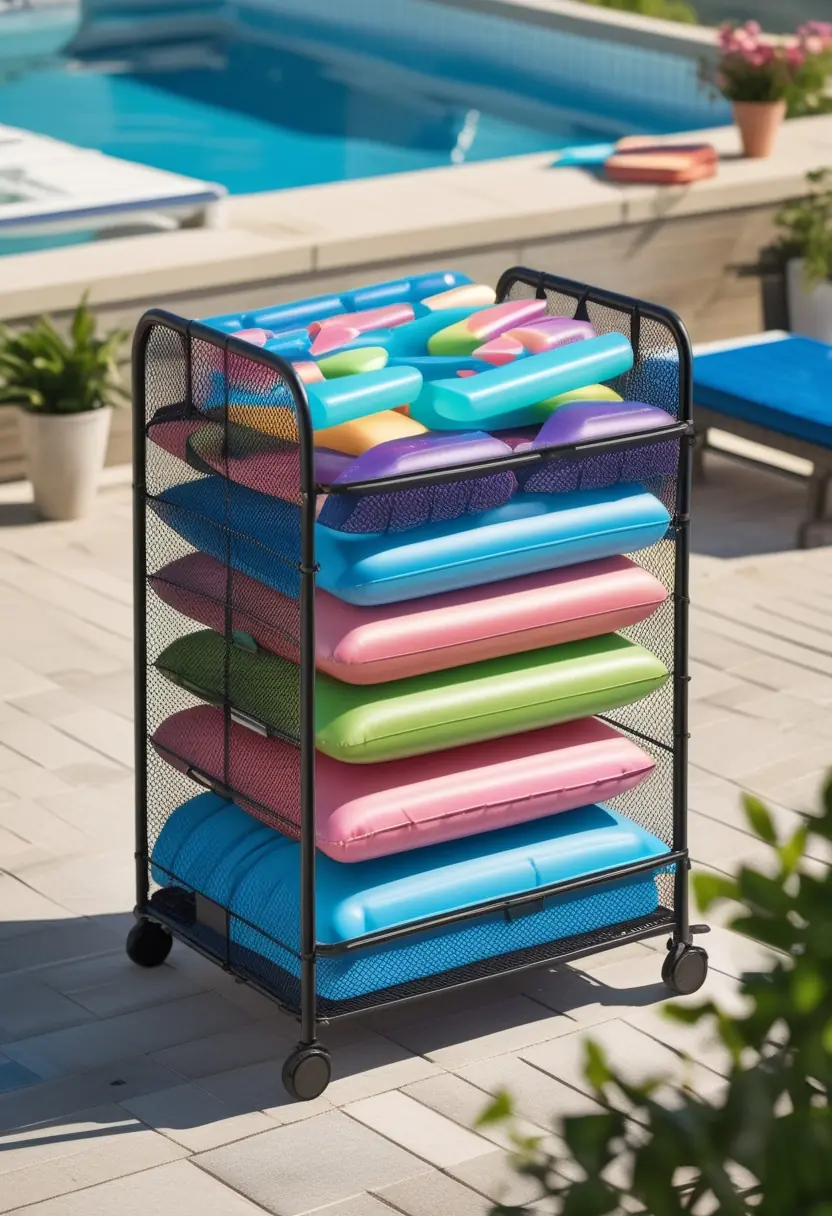
A rolling mesh cart gives you quick, mobile storage for floats, noodles, and pool toys. The mesh sides let items dry faster and reduce mildew risk.
Choose a cart with rust-resistant framing and smooth casters so you can move it across deck, lawn, or patio without dragging. Label baskets or use separate tiers to keep goggles, inflatables, and towels organized.
When not in use, wheel the cart into shade or under a covered area to extend its lifespan. The portability makes cleanup faster and keeps clutter off poolside surfaces.
12) Multi-Purpose Poolside Shelf for Towels and Floats
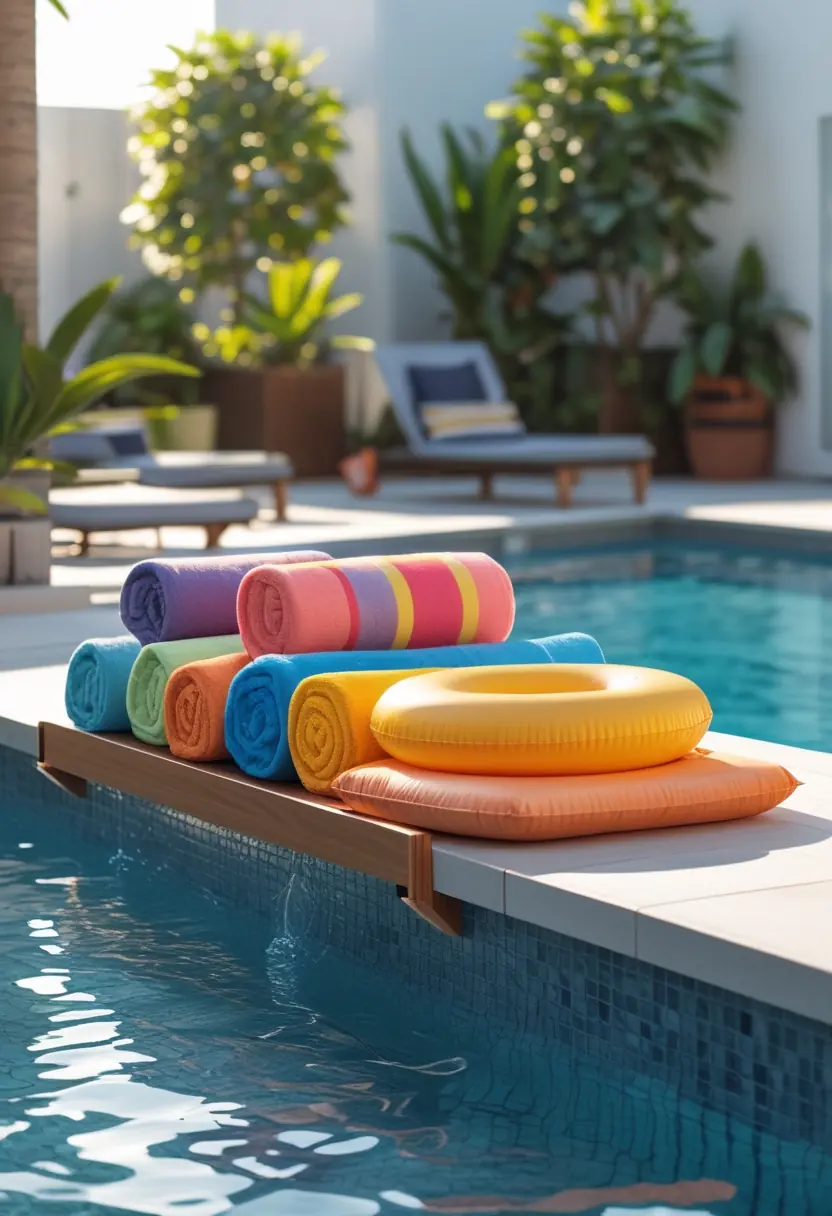
Choose a weather-resistant shelf that combines open shelving for floats with hooks or cubbies for towels. You’ll keep bulky inflatables upright and easy to grab while wet towels air-dry without cluttering the deck.
Position the shelf near the pool exit to streamline cleanup and reduce dripping across walkways. Look for materials like powder-coated metal or teak that resist moisture and sun damage.
Add removable bins or baskets on lower shelves for small toys and sunscreen. This keeps essentials organized and protects items from rain or wind.
13) Coastal-Inspired Fence Storage for Pool and Surf Essentials
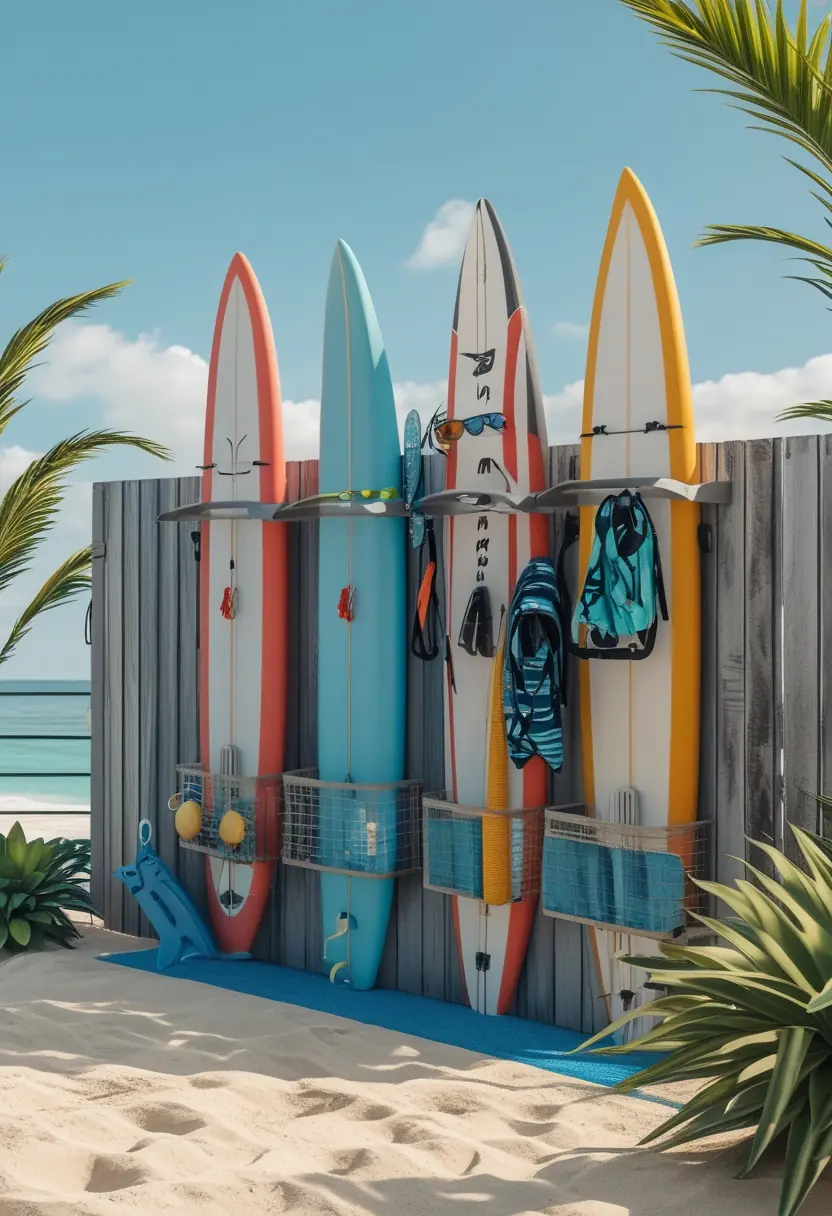
Use your fence as practical storage by adding hooks, brackets, or mounted racks for floats, boards, and towels. This keeps gear off the ground and makes items easy to grab when you head to the water.
Choose materials that resist rust and sun damage, like stainless steel hooks or marine-grade rope accents. You can integrate decorative elements—oar pegs, driftwood shelves, or nautical rope—to match a coastal look without sacrificing durability.
Position storage at varied heights so different items hang neatly: large floats higher, smaller accessories lower. Secure mounts into studs or use proper anchors to keep everything stable and safe.
14) Hanging Net for Space-Saving Float Storage
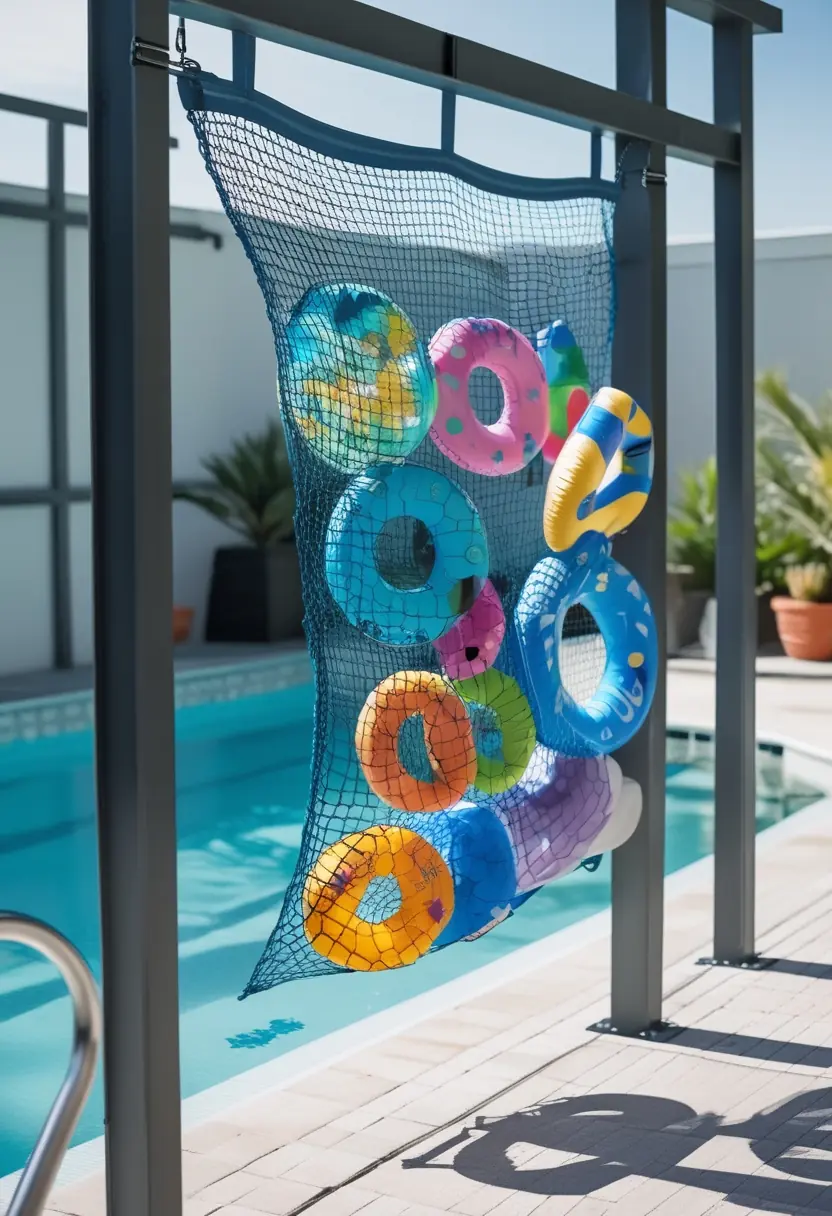
A hanging mesh net lets you store multiple floats off the ground and out of walkways. You hang it from a wall, fence, or ceiling to free deck space and speed drying.
Choose a weather-resistant net with sturdy hooks and generous capacity so it holds bulky inflatables without sagging. Install at a comfortable height so you can reach items easily and remove them without struggling.
A mesh design improves airflow to reduce mildew and make floats ready for the next swim. You can use several nets to keep different types of gear separated and accessible.
15) Portable Mesh Bin for All-In-One Storage
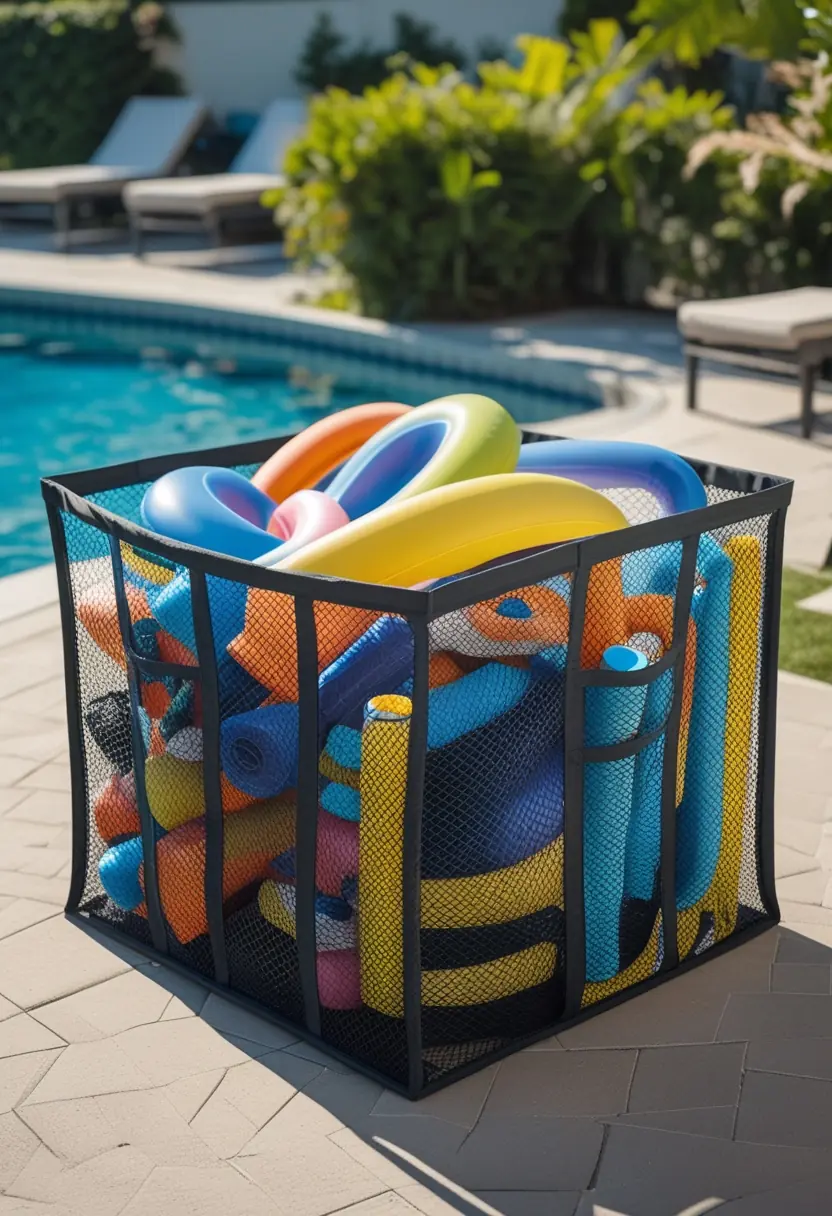
A portable mesh bin gives you a simple, ventilated place to stash floats, toys, and towels. You can carry it to the pool, leave it by the deck, or tuck it in a shed when not in use.
Look for weather-resistant materials and a reinforced rim so the bin keeps its shape under weight. Mesh bottoms and sides prevent mildew by allowing water to drain and air to circulate.
Choose a size that matches your collection; smaller bins suit kids’ toys, larger rolling bins handle noodles and oversized inflatables. Handles or wheels make moving full bins far easier.
Choosing the Right Storage Solutions
Pick storage that matches where you keep floats and how often you use them. Focus on protection, easy access, and space efficiency so floats last longer and stay ready.
Factors to Consider for Outdoor Versus Indoor Storage
If you store floats outdoors, prioritize rigid racks, wall hooks, or sealed bins placed under a covered area to keep them off the ground and away from sharp edges. Measure available wall or fence space before buying racks; choose mounts rated for UV exposure and outdoor weight to avoid sagging or failure.
For indoor storage, use breathable shelves, mesh organizers, or hanging garment racks in a garage or shed to prevent mildew. Keep deflated floats in labeled bins or vacuum bags to save space. Consider how often you grab floats—frequent use favors open, easy-access solutions; seasonal storage favors compact, stackable containers.
Weatherproofing and UV Protection
Look for materials labeled UV-stable or UV-resistant—polyethylene, powder-coated steel, and marine-grade plastics resist sun degradation better than untreated metals or basic plastics. If you use bins, choose those with tight, gasketed lids for rain and pest protection.
Apply a UV fabric spray to older floats and rotate stored items to reduce one-sided fading. Add a breathable layer like a mesh cover when storing wet floats to speed drying while blocking direct sun. Fasten outdoor racks to studs or posts to prevent wind displacement.
Maintaining the Longevity of Pool Floats
Keep floats clean, dry, and stored at partial or no inflation depending on material. Rinse off chemicals and debris, dry completely, and protect valves and seams to prevent leaks and mold.
Proper Cleaning Before Storage
Rinse each float with fresh water immediately after use to remove chlorine, salt, sunscreen, and dirt. Use a soft cloth and a mild detergent (one tablespoon of dish soap per gallon of water) for stubborn grime; avoid bleach or abrasive cleaners that can degrade vinyl and printed finishes.
Pay special attention to seams, valves, and creases where residue gathers. Use a soft-bristled brush or cotton swab for tight spots, then rinse thoroughly to remove soap. After cleaning, dry in a shaded, well-ventilated spot; direct sun can weaken materials and cause colors to fade.
For foam or fabric-covered floats, squeeze out excess water and air-dry laid flat or hung to prevent mildew. If you store floats for months, perform a quick inspection and wipe-down before packing to catch small tears or mildew early.
Inflation and Deflation Tips
Follow manufacturer pressure recommendations when inflating; overinflation stretches seams and weakens welds. For vinyl floats, leave a small amount of give in the material—about 90–95% of full inflation to accommodate temperature changes and prevent popping.
When deflating, open the valve fully and gently press out air rather than folding tightly while air remains trapped. Fold or roll from the valve outward to push remaining air out. For long-term storage, store floats partially deflated or fully deflated depending on material: foam floats can stay at normal shape, vinyl inflatables last longer slightly deflated to relieve stress.
Protect valves by capping them or taping gently to keep dirt out. Inspect and patch small punctures with a repair kit before storing; repairing early prevents larger failures later.
FAQ’s
Where should I store pool floats during the off-season?
Store pool floats in a dry, covered area like a garage, shed, or storage bench. Keep them away from direct sunlight and extreme temperature changes. For best results, use ventilated bins or open shelving so air can circulate and prevent moisture buildup.
What’s the best way to clean floats before storing them?
Rinse floats with fresh water to remove chlorine, salt, and dirt. For deeper cleaning, use mild soap and a soft cloth. Pay attention to seams and valves, then let the floats dry fully in a shaded, well-ventilated area.
How should I inflate floats for long-term storage?
For long-term storage, it’s best to deflate floats completely to reduce stress on seams. If you plan to use them again soon, you can keep them slightly inflated, but avoid over inflation, especially in warm conditions.
How often should I check on stored floats?
Check stored floats every few weeks, especially during long off-seasons. Look for signs of moisture, mold, or damage so you can fix small issues before they become bigger problems.