10 DIY Pool Float Storage Ideas for an Organized Backyard
You probably juggle a pile of inflatable loungers, rings, and toy clutter whenever summer rolls around. You can reclaim your poolside space with simple, practical DIY storage solutions that protect your floats, free up deck room, and keep everything easy to grab when you want to jump back in.
This article walks you through ten approachable projects from repurposed pallets and rolling mesh bins to a sleek teak deck box so you can pick options that match your style, budget, and available space. You’ll find ideas that balance function and appearance while helping you maintain and optimize your poolside organization.
Contents
- 1 1) Simple DIY Pool Rack Storage from a Repurposed Pallet
- 2 2) Rolling Mesh Storage Bins for All the Toys and Play Gear
- 3 3) Deck Storage Container for a Minimalistic Outdoor Style
- 4 4) Mesh Dividers for the Deck Storage Container for Better Organization
- 5 5) Pool Storage Shed for Lounges and Play Gear in a Neat Way
- 6 6) A Small Wooden Bar by the Pool with Storage Compartment
- 7 7) Creative Custom Wooden Storage Rack for Visual Appeal
- 8 8) A Big Cargo Net on the Wall for All the Toys and Swim Rings
- 9 9) Repurposed Metal Cart for Bigger Pool and River Equipment
- 10 10) Teak Outdoor Deck Box as an Elegant Storage Solution
- 11 Optimizing Poolside Organization
- 12 Maintenance Tips for Pool Float Storage
- 13 Conclusion
1) Simple DIY Pool Rack Storage from a Repurposed Pallet
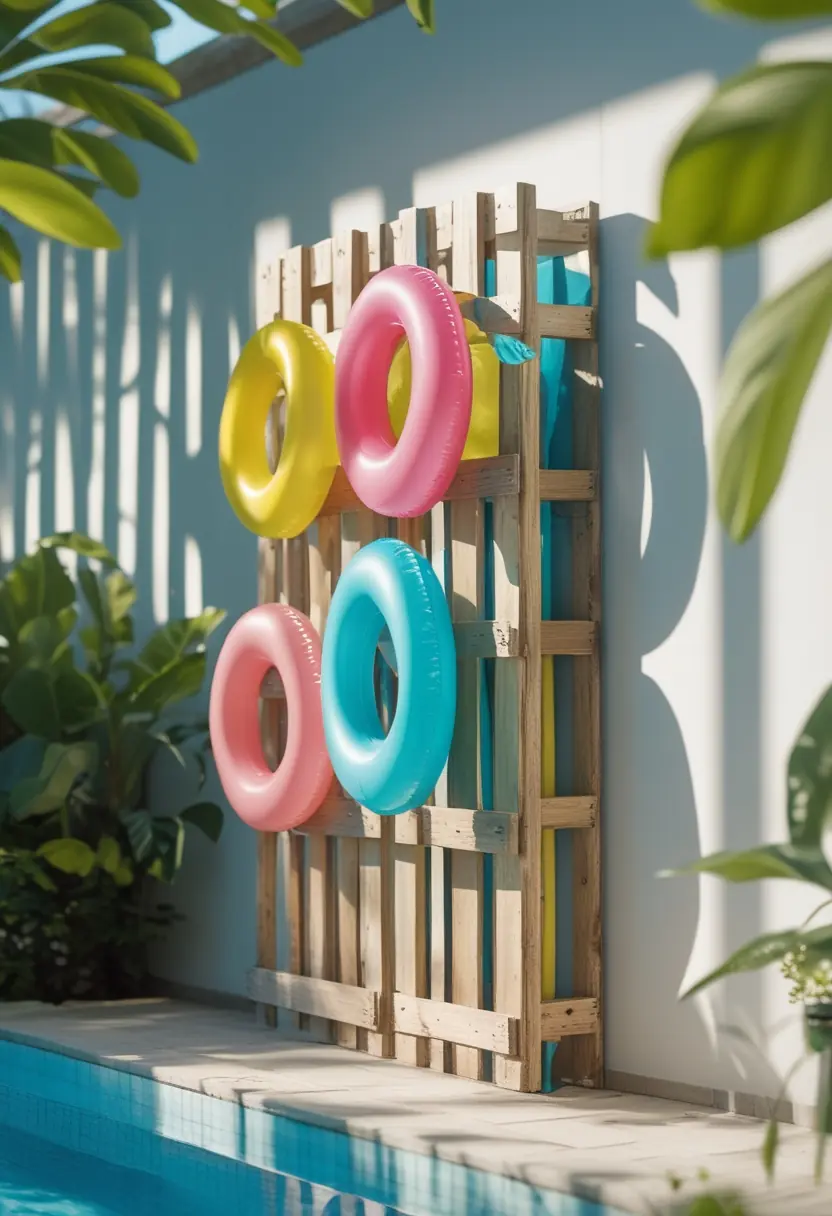
You can turn an old pallet into a sturdy, budget-friendly rack for your pool floats with basic tools.
Lean it against a fence or mount it to a wall, then add hooks or slats to hold floats, noodles, and rings.
Sand and seal the wood to resist moisture and sun exposure.
This approach keeps gear off the ground, improves airflow, and makes items easy to grab when you need them.
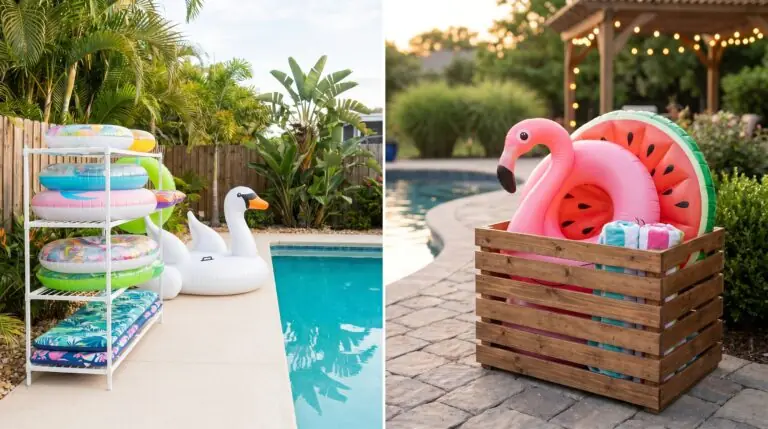
2) Rolling Mesh Storage Bins for All the Toys and Play Gear
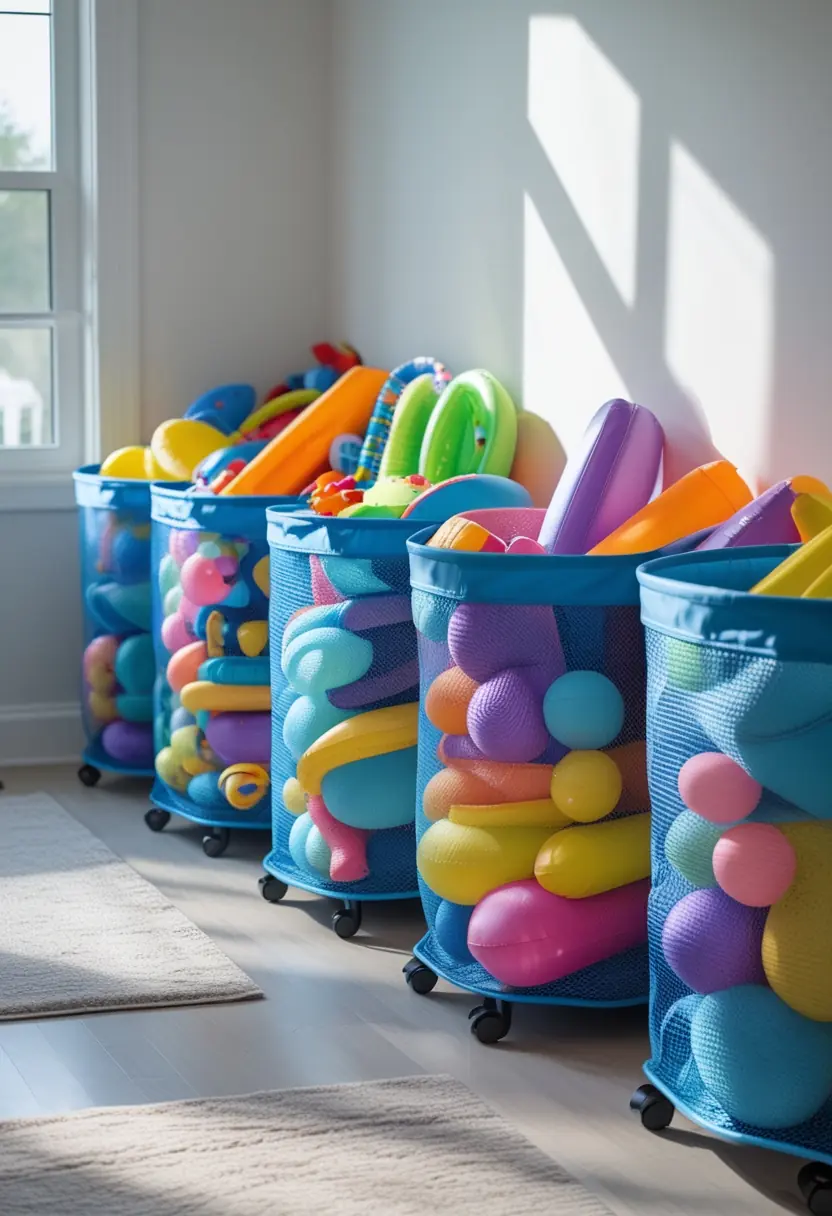
Choose a rolling mesh bin to keep floats, noodles, and balls contained and ventilated. The mesh lets damp items dry while wheels make relocation effortless.
Pick a size that fits your poolside space; extra-large bins handle bulky floats, while compact carts suit small decks. Look for durable frames and UV-resistant fabric to extend service life.
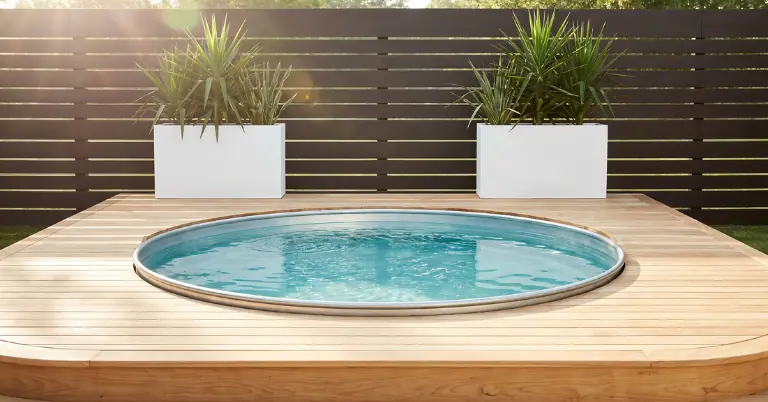
3) Deck Storage Container for a Minimalistic Outdoor Style
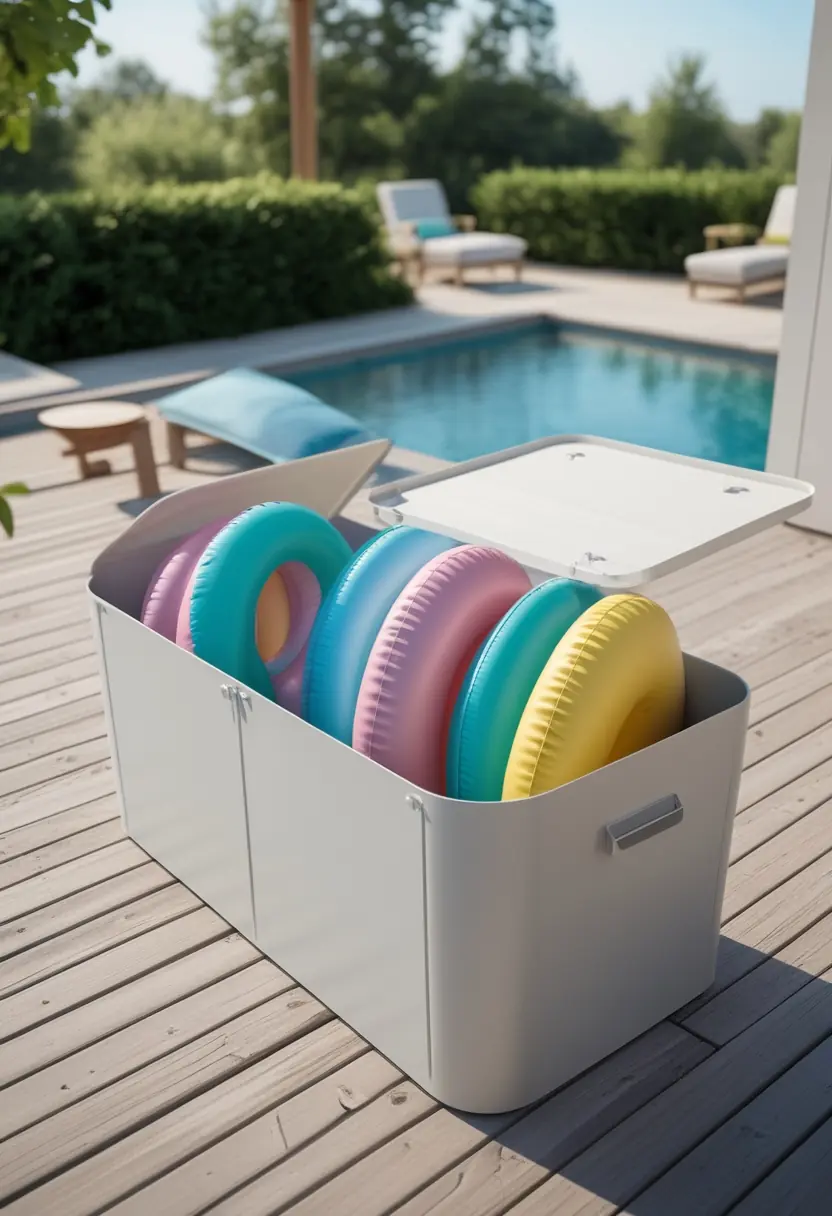
Choose a low-profile deck storage container to keep floats out of sight while matching a clean, modern aesthetic. Pick weather-resistant materials like cedar or powder-coated metal for durability and low maintenance.
Position the container along the deck railing or under a bench to save space. Use simple latching lids and internal dividers so your floats stay organized and dry.
4) Mesh Dividers for the Deck Storage Container for Better Organization
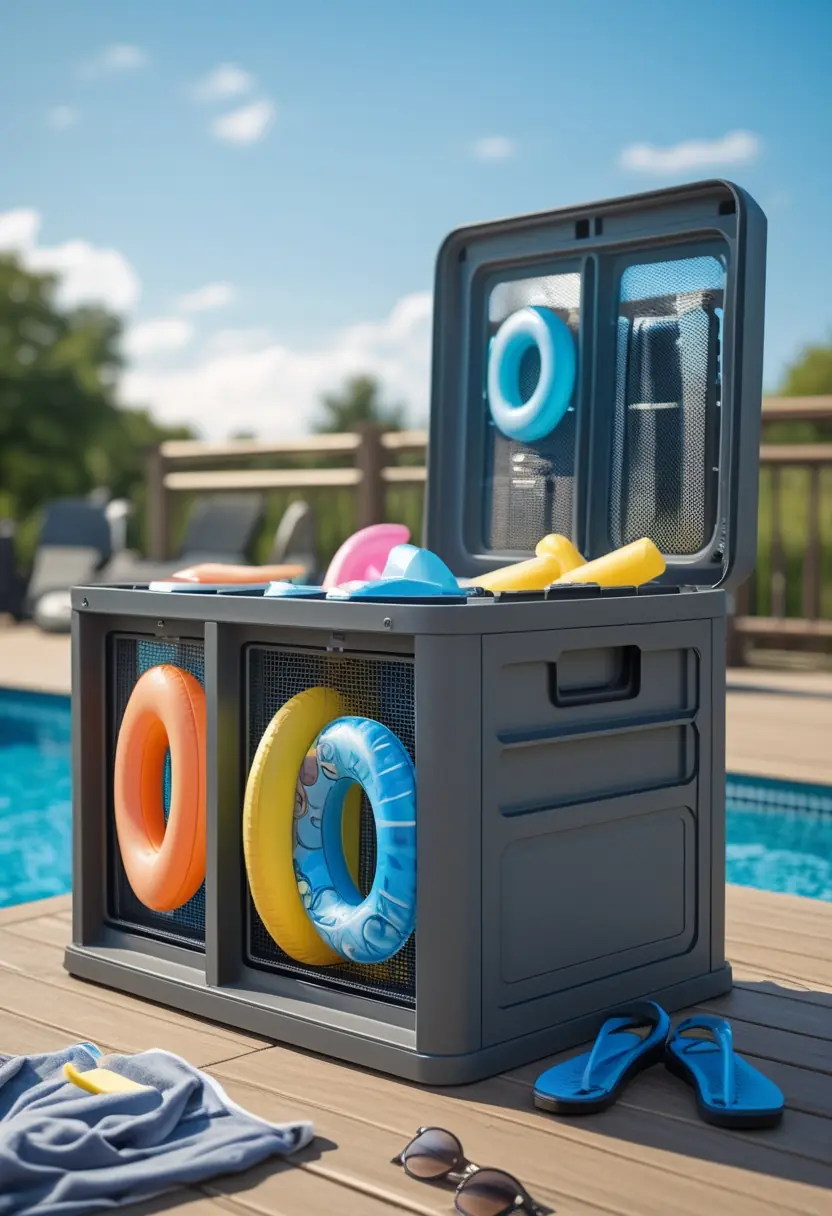
Add mesh dividers inside your deck storage container to separate floats by size or type. They let air circulate, helping damp floats dry and reducing mildew risk.
Use removable or adjustable dividers so you can reconfigure compartments as your collection changes. Clear mesh keeps contents visible, so you grab the right float quickly.
5) Pool Storage Shed for Lounges and Play Gear in a Neat Way
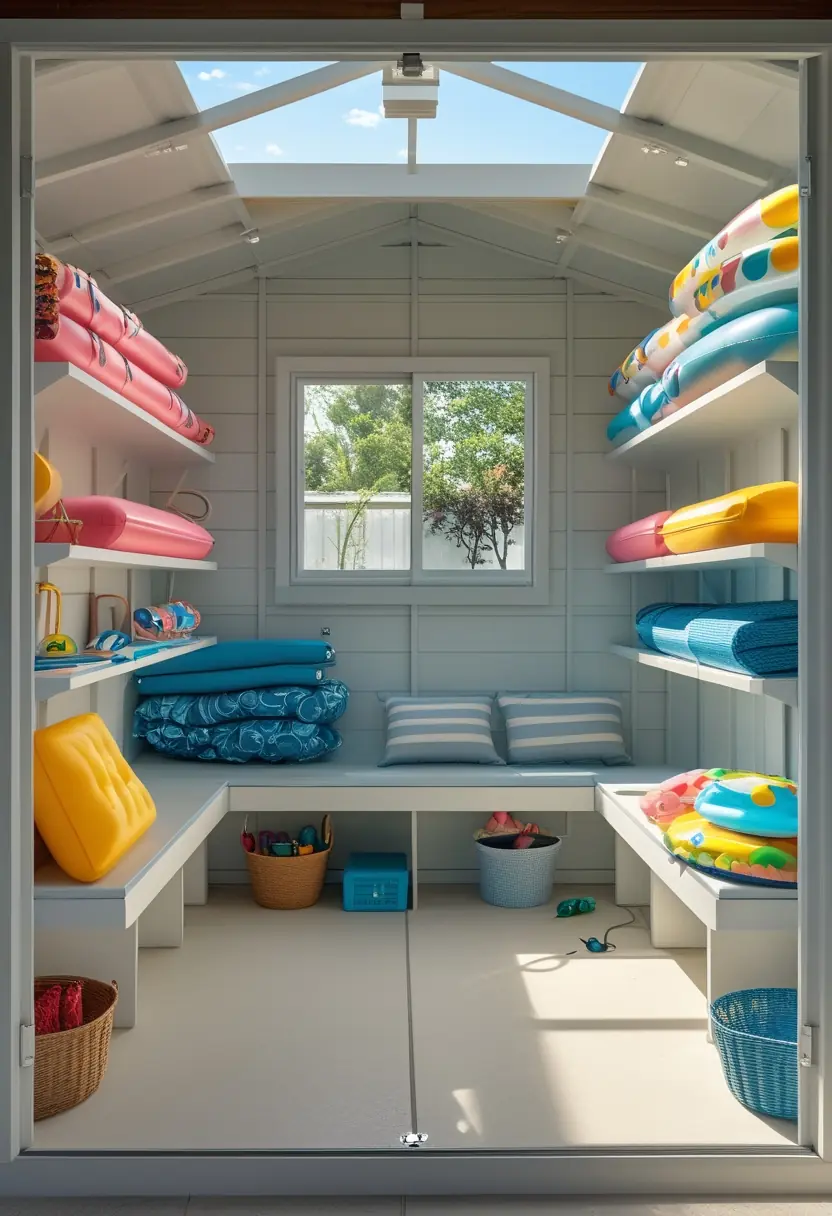
A small shed keeps lounges, inflatables, and toys protected from sun and mildew. You can outfit shelves, hooks, and labeled bins to separate loungers from smaller play items.
Install ventilation and a raised floor to prevent moisture buildup. Choose weatherproof materials and a lockable door so your gear stays dry and secure.
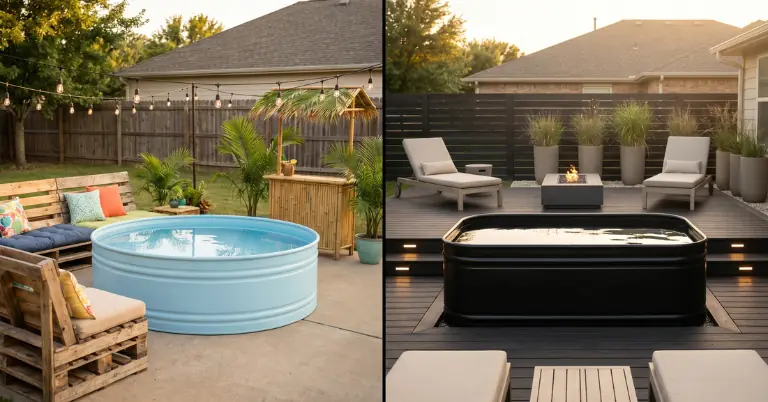
6) A Small Wooden Bar by the Pool with Storage Compartment
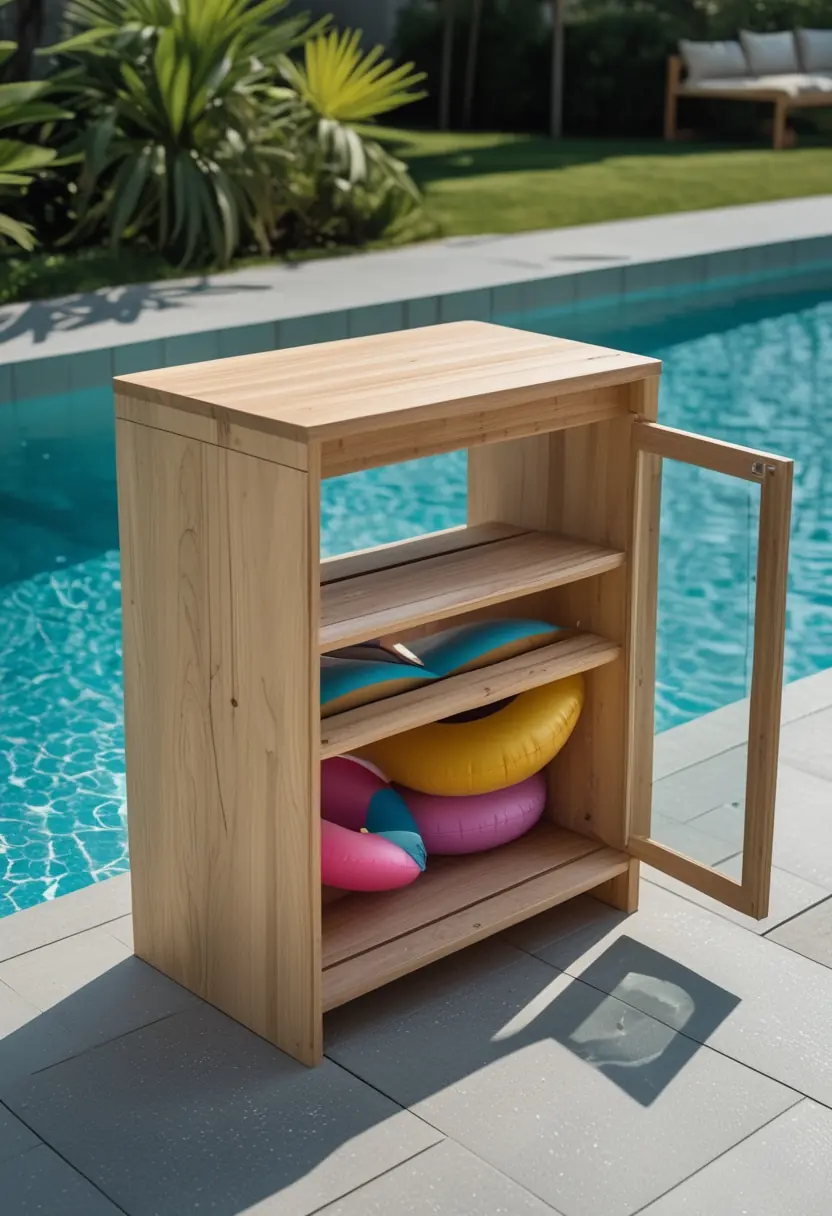
Place a compact wooden bar near your pool to serve drinks and tuck away floats when not in use.
Build a hinged top or slide-out drawer to keep inflatables protected from sun and wind.
Choose rot-resistant wood and seal it for weatherproofing to extend lifespan.
Keep dimensions low and narrow so the bar doesn’t block pathways or sightlines around the pool.
7) Creative Custom Wooden Storage Rack for Visual Appeal

Build a custom wooden rack to display and store your pool floats while matching your outdoor decor. You can choose slatted shelves, pegs, or open cubbies depending on the shapes and sizes you own.
Use weather-resistant lumber and a simple finish to protect the wood and keep maintenance low. Position the rack against a fence or near the pool for quick access and a tidy look.
8) A Big Cargo Net on the Wall for All the Toys and Swim Rings
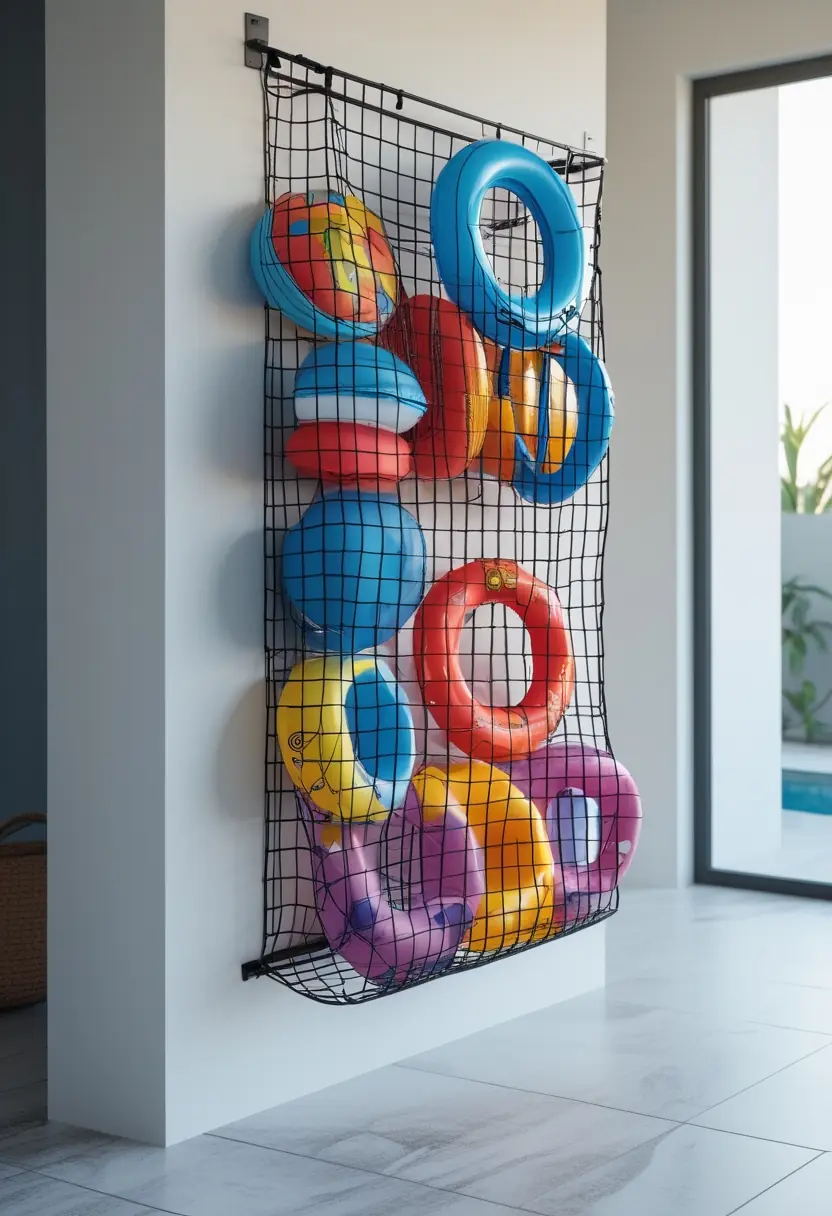
Mount a heavy-duty cargo net on a fence or shed wall to hold large inflatables, noodles, and pool toys. You save floor space and keep items off the wet deck, making the area safer.
Choose UV-resistant netting and rustproof hooks for outdoor use. Install at a reachable height so you and guests can grab gear quickly without climbing.
9) Repurposed Metal Cart for Bigger Pool and River Equipment
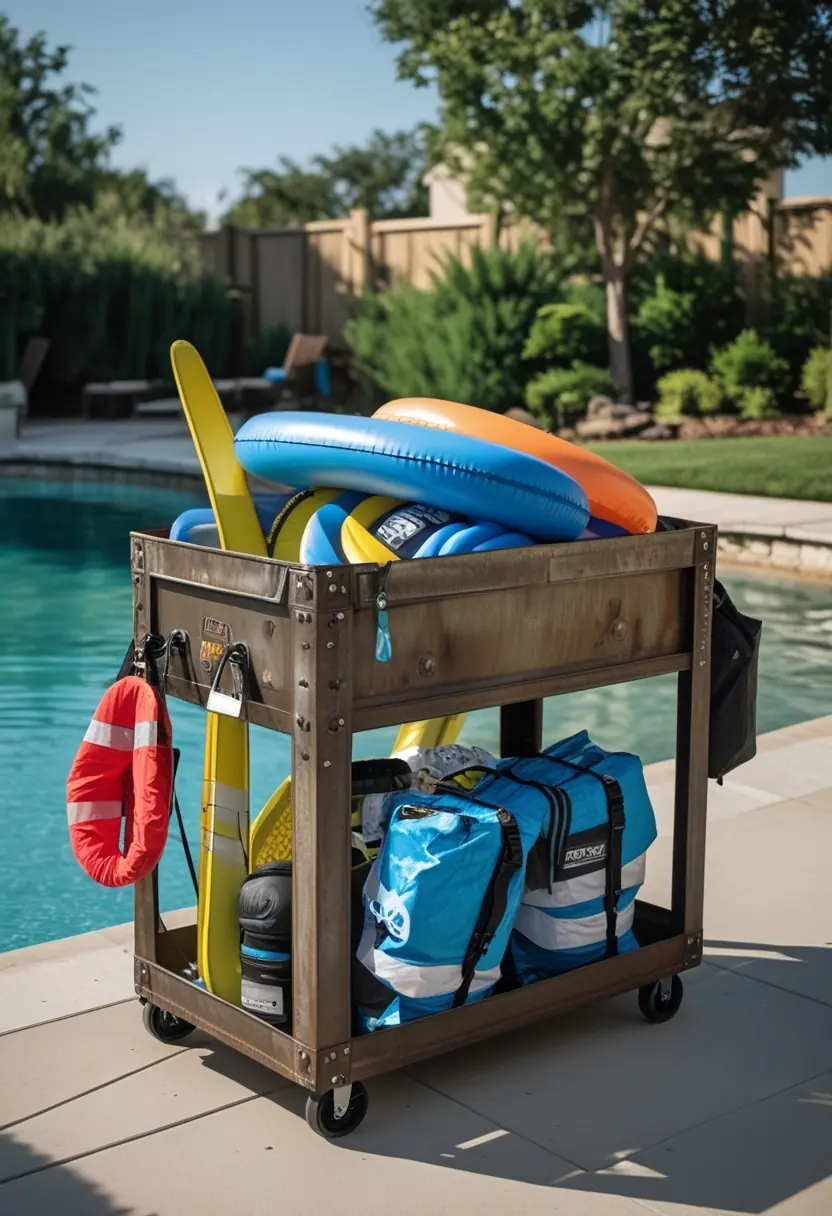
Use a sturdy metal utility cart to corral large inflatables, paddles, and life jackets. You can add mesh bins or bungee cords to keep items from sliding off during transport.
Place the cart near the garage or pool for easy loading and unloading. If rust is a concern, sand and apply a weatherproof finish to extend its life.
10) Teak Outdoor Deck Box as an Elegant Storage Solution
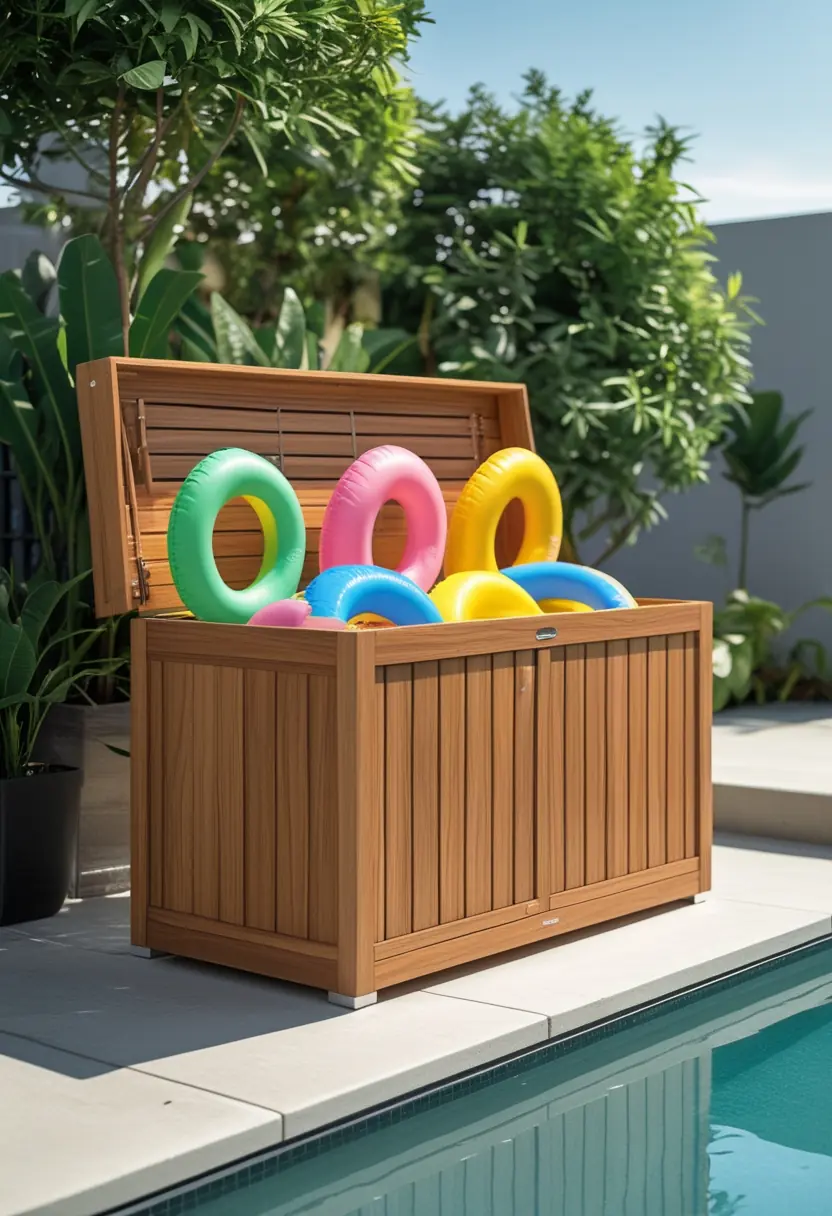
A teak deck box offers durable, weather-resistant storage that blends with outdoor furniture. You get a sturdy place to keep pool floats, cushions, and small toys out of sight.
Teak weathers gracefully and needs only occasional oiling to maintain color. Choose a box with ventilation and a sealable lid to prevent mildew while keeping access simple.
Optimizing Poolside Organization
Focus on how many floats you own, where you’ll store them, and which materials will withstand sun and moisture. Prioritize easy access, protection from UV damage, and routes that keep walkways clear.
Assessing Pool Float Needs
Count the floats you use weekly versus seasonally to decide on permanent versus seasonal storage. Note sizes: loungers, rings, and novelty shapes need different footprints; measure largest items to plan shelf or rack spacing.
Consider how often kids or guests grab floats. If access needs to be quick, choose open racks or a rolling cart; for long-term storage, use bins or a shed. Also inventory accessories—pumps, repair kits, and straps—so you don’t mix them with inflatables.
Factor in inflation habits. If you store mostly deflated floats, shallow bins or wall straps save space. If you keep items inflated, allocate vertical wall space and wide hooks to avoid creasing and rubbing.
Maximizing Storage Space
Use vertical space first: wall-mounted hooks, pegboards, or ceiling hoists free deck area. Place hooks at varying heights to accommodate different float shapes and to keep heavy items off the ground.
Group floats by use and size on labeled shelves or in color-coded bins. Keep a rolling cart with the most-used floats near the pool for easy transport; keep seasonal or backup floats in a shed or garage.
Optimize corners with triangular racks or corner shelves to avoid wasted areas. Leave a clear 3–4 foot path around the pool for safety and quick access to floats.
Material Considerations
Choose materials that resist sun, salt, and chlorine: stainless steel, powder-coated aluminum, marine-grade rope, and UV-resistant plastics work best. Avoid untreated wood near the pool unless sealed and maintained.
For outdoor racks, select hardware rated for exterior use and stainless fasteners to prevent rust. Use breathable mesh bins or slatted shelves to allow drainage and air circulation, which prolongs vinyl life.
If you store inflatables inflated, pick padded hangers or wide straps to prevent sharp creases. For long-term storage, dry items thoroughly, then store in opaque, cool containers to limit UV degradation.
Maintenance Tips for Pool Float Storage
Keep floats clean, dry, and stored where air circulates. Regular inspections and simple cleaning steps prevent damage and extend the usable life of each inflatable.
Preventing Mold and Mildew
Clean floats after each use with a solution of mild dish soap and water or a 1:10 bleach-to-water mix for persistent stains; rinse thoroughly to remove residue. Dry completely in direct sun or on a drying rack for several hours before storing to prevent trapped moisture.
Store inflatables loosely, not tightly folded, so air can move around them. Use breathable storage like mesh bins, open shelving, or a slatted wooden crate rather than sealed plastic totes. For long-term storage, include desiccant packs or silica gel in the container to absorb lingering humidity.
Inspect seams and valves monthly for trapped water, discoloration, or musty smell. Patch small holes promptly with vinyl repair kits and replace any float showing widespread mildew that won’t scrub away.
Seasonal Care Strategies
Before winter or long off-seasons, inflate each float to check for slow leaks and mark any weak spots. Deflate only after cleaning and drying, then fold loosely along seams rather than aggressive rolling to avoid stress on welded joints.
Label storage containers with contents and condition write the float type and repair notes on a tag or masking tape. Keep frequently used or fragile floats accessible near the top; move heavy or rigid items below to avoid crushing softer inflatables.
For outdoor storage, choose a covered area away from direct sun and temperature extremes. If you must use a garage or shed, elevate floats on shelves and avoid storing them near chemicals, sharp tools, or rodent-prone areas. Periodically re-inflate and air out floats mid-season to check for degradation and maintain shape.
Conclusion
You now have ten practical ways to tame pool-float clutter and protect your gear. Pick one or combine several to match your space, budget, and style.
Small fixes like wall hooks or baskets keep floats accessible and dry. Larger builds racks, benches, or pallet systems add storage and a finished look to your yard.
Think about material and placement: weather-resistant materials and shade extend float life. Storing inflatables deflated or partially inflated saves space and reduces sun damage.
If you value quick access, prioritize open racks or hooks near the pool. If tidy appearance matters more, opt for concealed benches or storage boxes with lids.
Quick checklist to decide:
- Space available: wall, deck, or shed
- Weather exposure: choose plastic, treated wood, or metal
- Ease of access vs. aesthetics: open vs. hidden storage
Choose solutions you can build and maintain. With simple planning, you’ll keep your pool area safe, organized, and ready for fun.