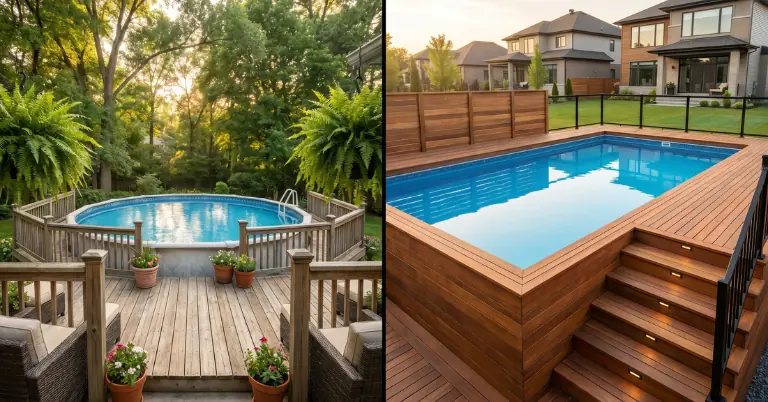
How To Make Above Ground Pool Steps: (Affordable Step-by-Step Guide)
Making safe, sturdy steps for your above-ground pool doesn’t require a pro or a huge budget you can build a reliable set using common lumber, basic tools, and a clear plan. You’ll get practical guidance on choosing materials, a step-by-step construction approach, and simple safety upgrades so your new steps are stable, weatherproof, and comfortable to use.
Follow straightforward instructions that cover measuring and cutting, fastening and finishing, plus tips for handrails, non-slip treads, and routine maintenance to keep the steps safe over time. This post guides you through each phase so you can confidently complete the project and improve access and appearance for your pool.
Contents
Choosing the Best Materials
Pick materials that balance budget, weather resistance, and slip protection. Focus on what will last at your climate, how much maintenance you’ll do, and whether you need a handrail or decking platform.
Comparing Wood, Plastic, and Metal Options
Wood gives a natural look and is easy to cut and fasten. Choose pressure-treated lumber or exterior-grade cedar/thermally modified wood to resist rot; plan to seal or stain annually. Use stainless or hot-dipped galvanized fasteners to avoid corrosion.
Plastic/resin components resist rot and require minimal maintenance. Molded steps and decking panels often include textured, anti-slip surfaces. They can be pricier up front but eliminate staining or sealing tasks.
Metal (aluminum or stainless steel) offers the highest structural strength for slim profiles. Aluminum resists rust and is lighter; stainless steel resists corrosion in pool chemicals. Add non-slip treads and check for sharp edges or heat buildup in direct sun.
Evaluating Durability and Safety
Assess water and chemical exposure for your pool type. Chlorinated pools and saltwater systems accelerate corrosion and degrade unfinished wood faster; select corrosion-resistant metals or stabilized plastics in those cases.
Prioritize slip resistance: choose textured treads, anti-slip tape, or rubber stair nosing. Check load capacity ratings and fastener schedules to ensure the structure supports anticipated users and occasional gear like inflatable ladders.
Consider maintenance tasks you’ll realistically perform. If you won’t re-seal wood yearly, expect shorter service life. For safety, include a handrail anchored to structural posts and confirm all joints are flush to prevent trip hazards.
Sourcing Affordable Supplies
Start with a material list and local measurements before shopping. Compare prices at big-box retailers, local lumberyards, and online specialty stores for plastics or aluminum kits.
Look for scraps or offcuts at yards for decking boards and risers; many suppliers discount overstock. Salvage options palettes or reclaimed decking—work if you plan to treat and reinforce the wood properly.
Factor delivery and hardware costs: stainless fasteners and anti-slip materials add to the total. If your budget is tight, prioritize corrosion-resistant fasteners and a good tread surface; you can upgrade trim later.
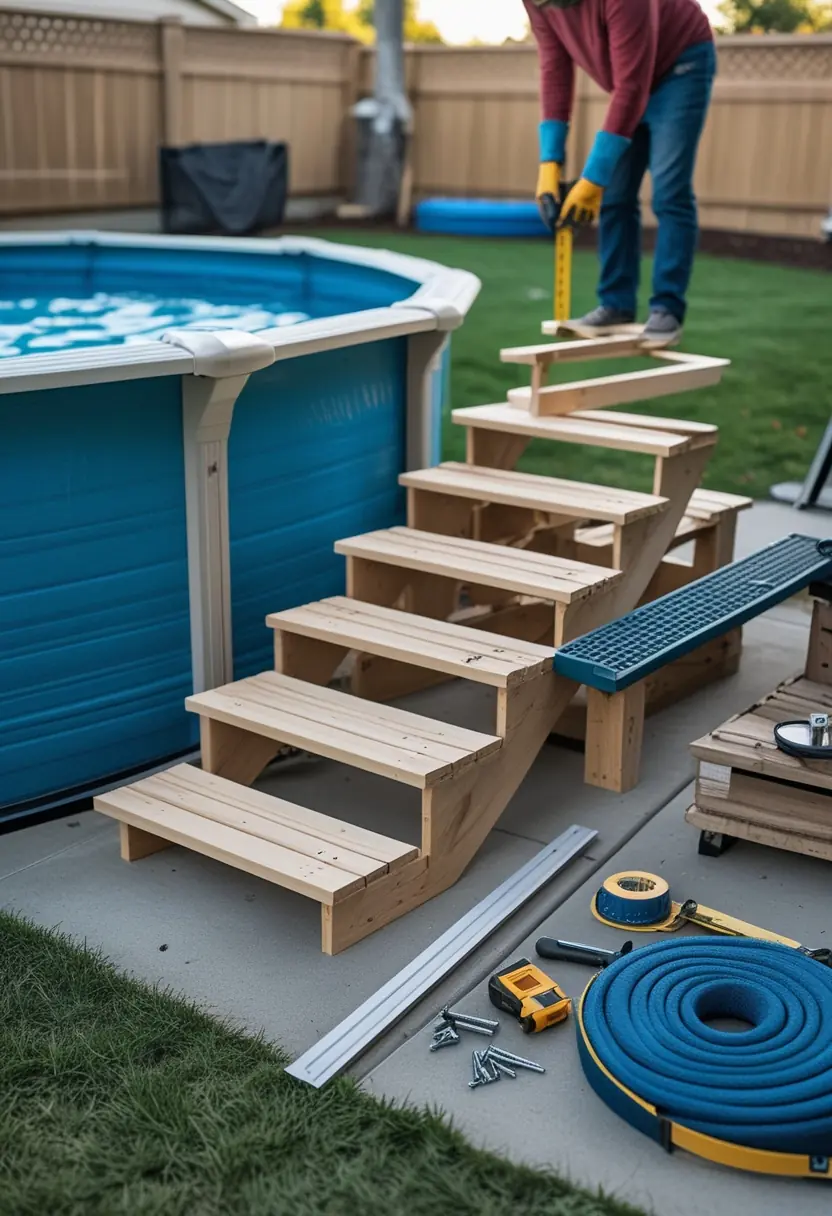
Step-by-Step Construction Process

This section walks you through preparing tools and the work area, measuring and cutting each component to fit your pool, assembling the frame and treads, and anchoring the steps for long-term stability. Follow the measurements, fastener types, and waterproofing tips to prevent common failures.
Preparing Tools and Work Area
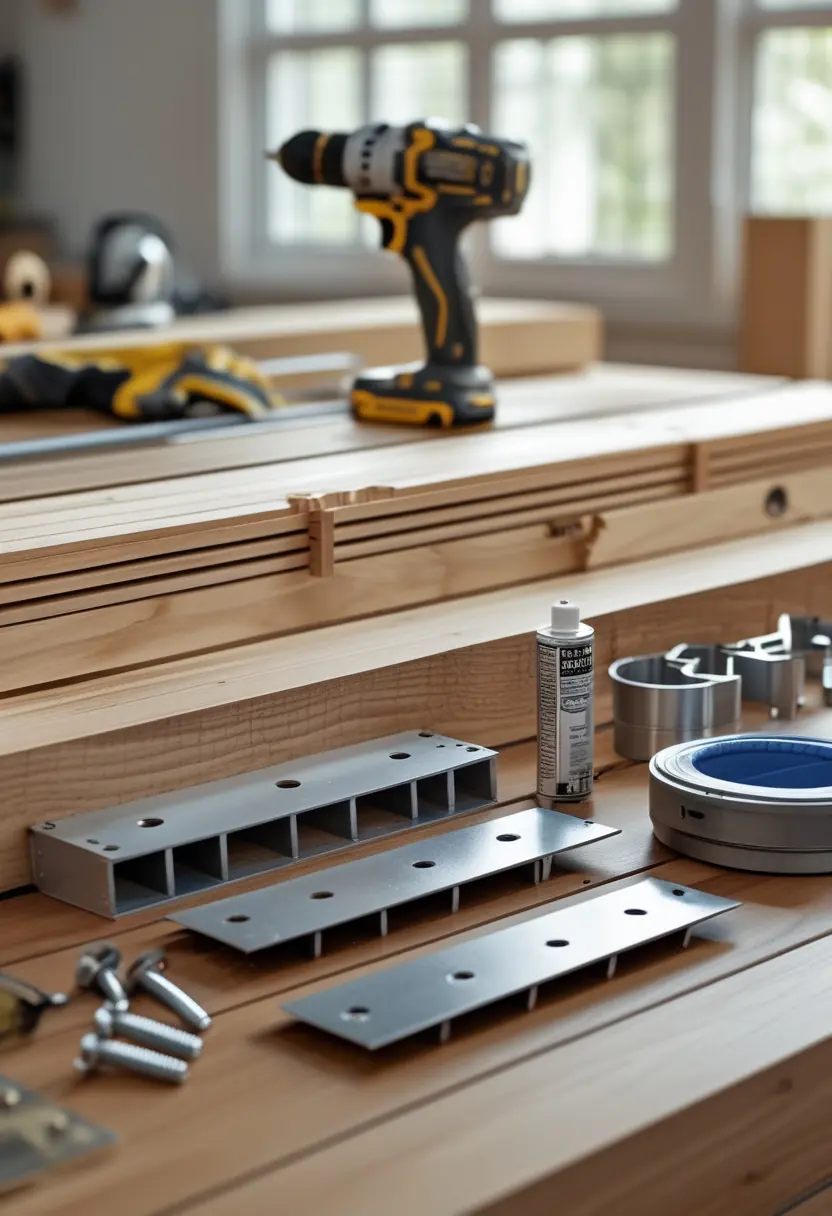
Gather these essential tools: circular saw with carbide blade, drill/driver, countersink bit, speed square, tape measure, pencil, level, clamp(s), and safety gear (glasses, gloves, hearing protection). Use exterior-rated screws and bolts stainless steel or hot-dip galvanized to resist corrosion around chlorine or salt.
Clear a flat zone at the pool perimeter at least 4 ft wider than the planned stairs. Remove vegetation and set down a 3–4 in. compacted gravel pad or paver base where the bottom support will sit to prevent settling. Keep materials and tools within arm’s reach and grade the ground slightly away from the pool to shed water.
Lay out parts and pre-drill all screw holes on a workbench. Mark each piece with its final position (e.g., tread 1, riser 2) to avoid confusion during assembly. Pre-cutting and labeling saves time and reduces errors.
Measuring and Cutting Components
Measure your pool wall height and the distance from the pool rim to the chosen stair footprint. Determine tread depth (minimum 10–12 in.), riser height (4–7 in. for comfortable steps), and number of steps using your total rise divided by chosen riser height. Record dimensions before cutting.
Cut stringers or side supports from 2×8 or 2×10 pressure-treated lumber using the layout from your riser/tread calculations. Use a speed square to mark consistent riser notches or lay out a template for repeatable cuts. Cut treads from 5/4″ deck boards or composite boards to the planned width, allowing 1/8–1/4 in. spacing for drainage.
Label each cut part and sand any rough edges. Apply an exterior wood preservative or paint to all cut ends immediately. If using composite boards, follow manufacturer recommendations for end sealing and fastener spacing.
Assembly and Installation Techniques
Dry-fit the stringers and treads on the ground first to confirm alignment. Attach stringers to an assembled bottom support box or concrete pavers using through-bolts with washers; countersink bolts where they’ll contact skin. Fasten treads to stringers with two screws per stringer per tread, and stagger screws to avoid splitting.
Install risers or a closed-back under each tread if you want a finished look and reduced splash-through. Use construction adhesive intended for exterior use between tread and stringer for added rigidity. Check each tread with a level as you secure it; adjust with 1/8 in. shims made of composite or plastic where minor leveling is needed.
If the steps sit against the pool wall, fit a removable top landing that hooks over the pool rim or uses adjustable brackets that clamp without damaging the liner. Test operation by applying downward and lateral force to simulate use.
Securing Steps for Stability
Anchor the bottom of the stair assembly to the prepared gravel pad or concrete footing using concrete anchors or galvanized lag screws into treated lumber footers. Use a wide base or saddle supports under the lowest stringer to spread load and prevent sinking. Check for any lateral movement and add diagonal bracing between stringers if the stairs wobble.
Fasten a handrail to the stair stringers with carriage bolts and add an in-line rail bracket where the rail meets the pool rim. Use anti-slip strips or textured composite treads to reduce slip risk; place them centered on each tread and secure per manufacturer instructions.
Inspect all fasteners after initial use and again after one season. Tighten bolts, replace corroded screws, and refresh sealant at cut ends. Routine checks prevent loosening and wood degradation near the pool environment.
Enhancing Safety and Comfort
Focus on firm footing, secure handholds, regular inspection, and age-appropriate features to reduce slips and injuries. Prioritize materials and placement that match your pool height and local weather.
Adding Handrails and Non-Slip Features
Install at least one sturdy handrail on the upper landing and one on the approach side of the stairs. Use stainless steel or powder-coated metal posts anchored to blocking or the pool rim; for wood stairs, bolt rails through doubled stringers with carriage bolts and lock nuts.
Apply non-slip traction to each tread. Options include UV-resistant textured tape, cast-in rubber treads, or anti-slip paint with silica grit choose products rated for outdoor, wet use. Keep tread depth at least 10–12 inches and riser heights consistent to prevent missteps.
Check rail and tread fasteners quarterly. Tighten loose hardware, replace corroded parts, and ensure rail supports do not wobble when loaded with 250–300 lb force.
Maintaining Cleanliness and Structural Integrity
Rinse and scrub steps weekly during heavy use to remove algae and sunscreen residue. Use a mild bleach solution (1 cup bleach per 5 gallons water) or a manufacturer-recommended cleaner; test on a small area first.
Inspect all structural members monthly. Look for wood rot, metal corrosion, cracked plastic, or delamination in composite materials. Probe suspect wood with a screwdriver and replace any member that softens or splits.
Protect exposed wood with exterior-grade sealant or stain every 1–2 years. For metal, remove rust with a wire brush and apply corrosion-resistant primer and paint. Keep mounting bolts and brackets protected with silicone or stainless washers.
Customizing for Children and Elderly Users
Lower riser heights and increase tread depth to improve comfort. Aim for risers near 6–7 inches and treads 11–14 inches deep for easier stepping, especially for older users and small children.
Add a second, lower handrail and a continuous grip profile. Mount the primary rail at 34–36 inches and a secondary rail at 24–26 inches from the tread nosing so both adults and children can hold on comfortably.
Consider gate or latch options to limit unsupervised access. Use rounded edges, closed risers to prevent foot entrapment, and brightly colored, slip-resistant step nosings to help visual depth perception for users with limited vision.
Frequently Asked Questions:
How do I measure for pool steps?
Measure the total height from ground to pool entry point, then divide it by the number of steps you want. Also measure the available space for width and depth to ensure the steps fit securely and comfortably.
What tools do I need to build pool steps?
You’ll need a drill, circular saw, measuring tape, level, screws/bolts, and a sander. For better finishing, use a staple gun (for carpet) and a paintbrush or roller for sealing the wood.
How often should I maintain pool steps?
Inspect pool steps every 1–2 months. Check for loose screws, cracks, mold, or wear. Reapply sealant or replace non-slip coverings as needed to keep them safe and durable.
What’s the proper tread depth for pool steps?
The ideal tread depth is 10 to 12 inches. This provides enough space for stable footing, especially when stepping with wet feet.